How to set up ZOOM Meeting Connector on premises
Prerequisite
What is Zoom on premises and why use it instead of the regular Zoom hosting ?
Zoom on premises allows you to host your meeting on your own server (called Zoom Meeting Connector). Using this service, all the Zoom information (credentials, accounts identification…) are still handled by Zoom but all the content of the meeting (Video, Audio, documents, chat…) are hosted on your private server (Zoom Meeting Connector). This allows a much better confidentiality of your data if you are dealing with sensitive information.
Virtual machines (VM) and meeting capacities
- Zone Controller (ZC)
- Multimedia Router (MMR)
To run a meeting, you need at least 1 ZC and 1 MMR. Both can be deployed on one VM. The ZC controls the MMRs and you can connect up to 200 MMR to one ZC. For any additional MMR, another VM needs to be deployed. 1 MMR support 200 simultaneous participants and up to 100 meetings (ie, 100 meetings with two persons or 4 meetings with fifty persons). Adding MMR allows to increase the capacities of your meetings.
Note: As a backup, you can deploy a second ZC. If the first ZC process in controller 1 is down, the second ZC process will take over automatically.
How to set up a Zoom Meeting Connector
First part: Set up your VM client
This tutorial explains the procedure for the VMware client but any other client that supports an OVF can be used.
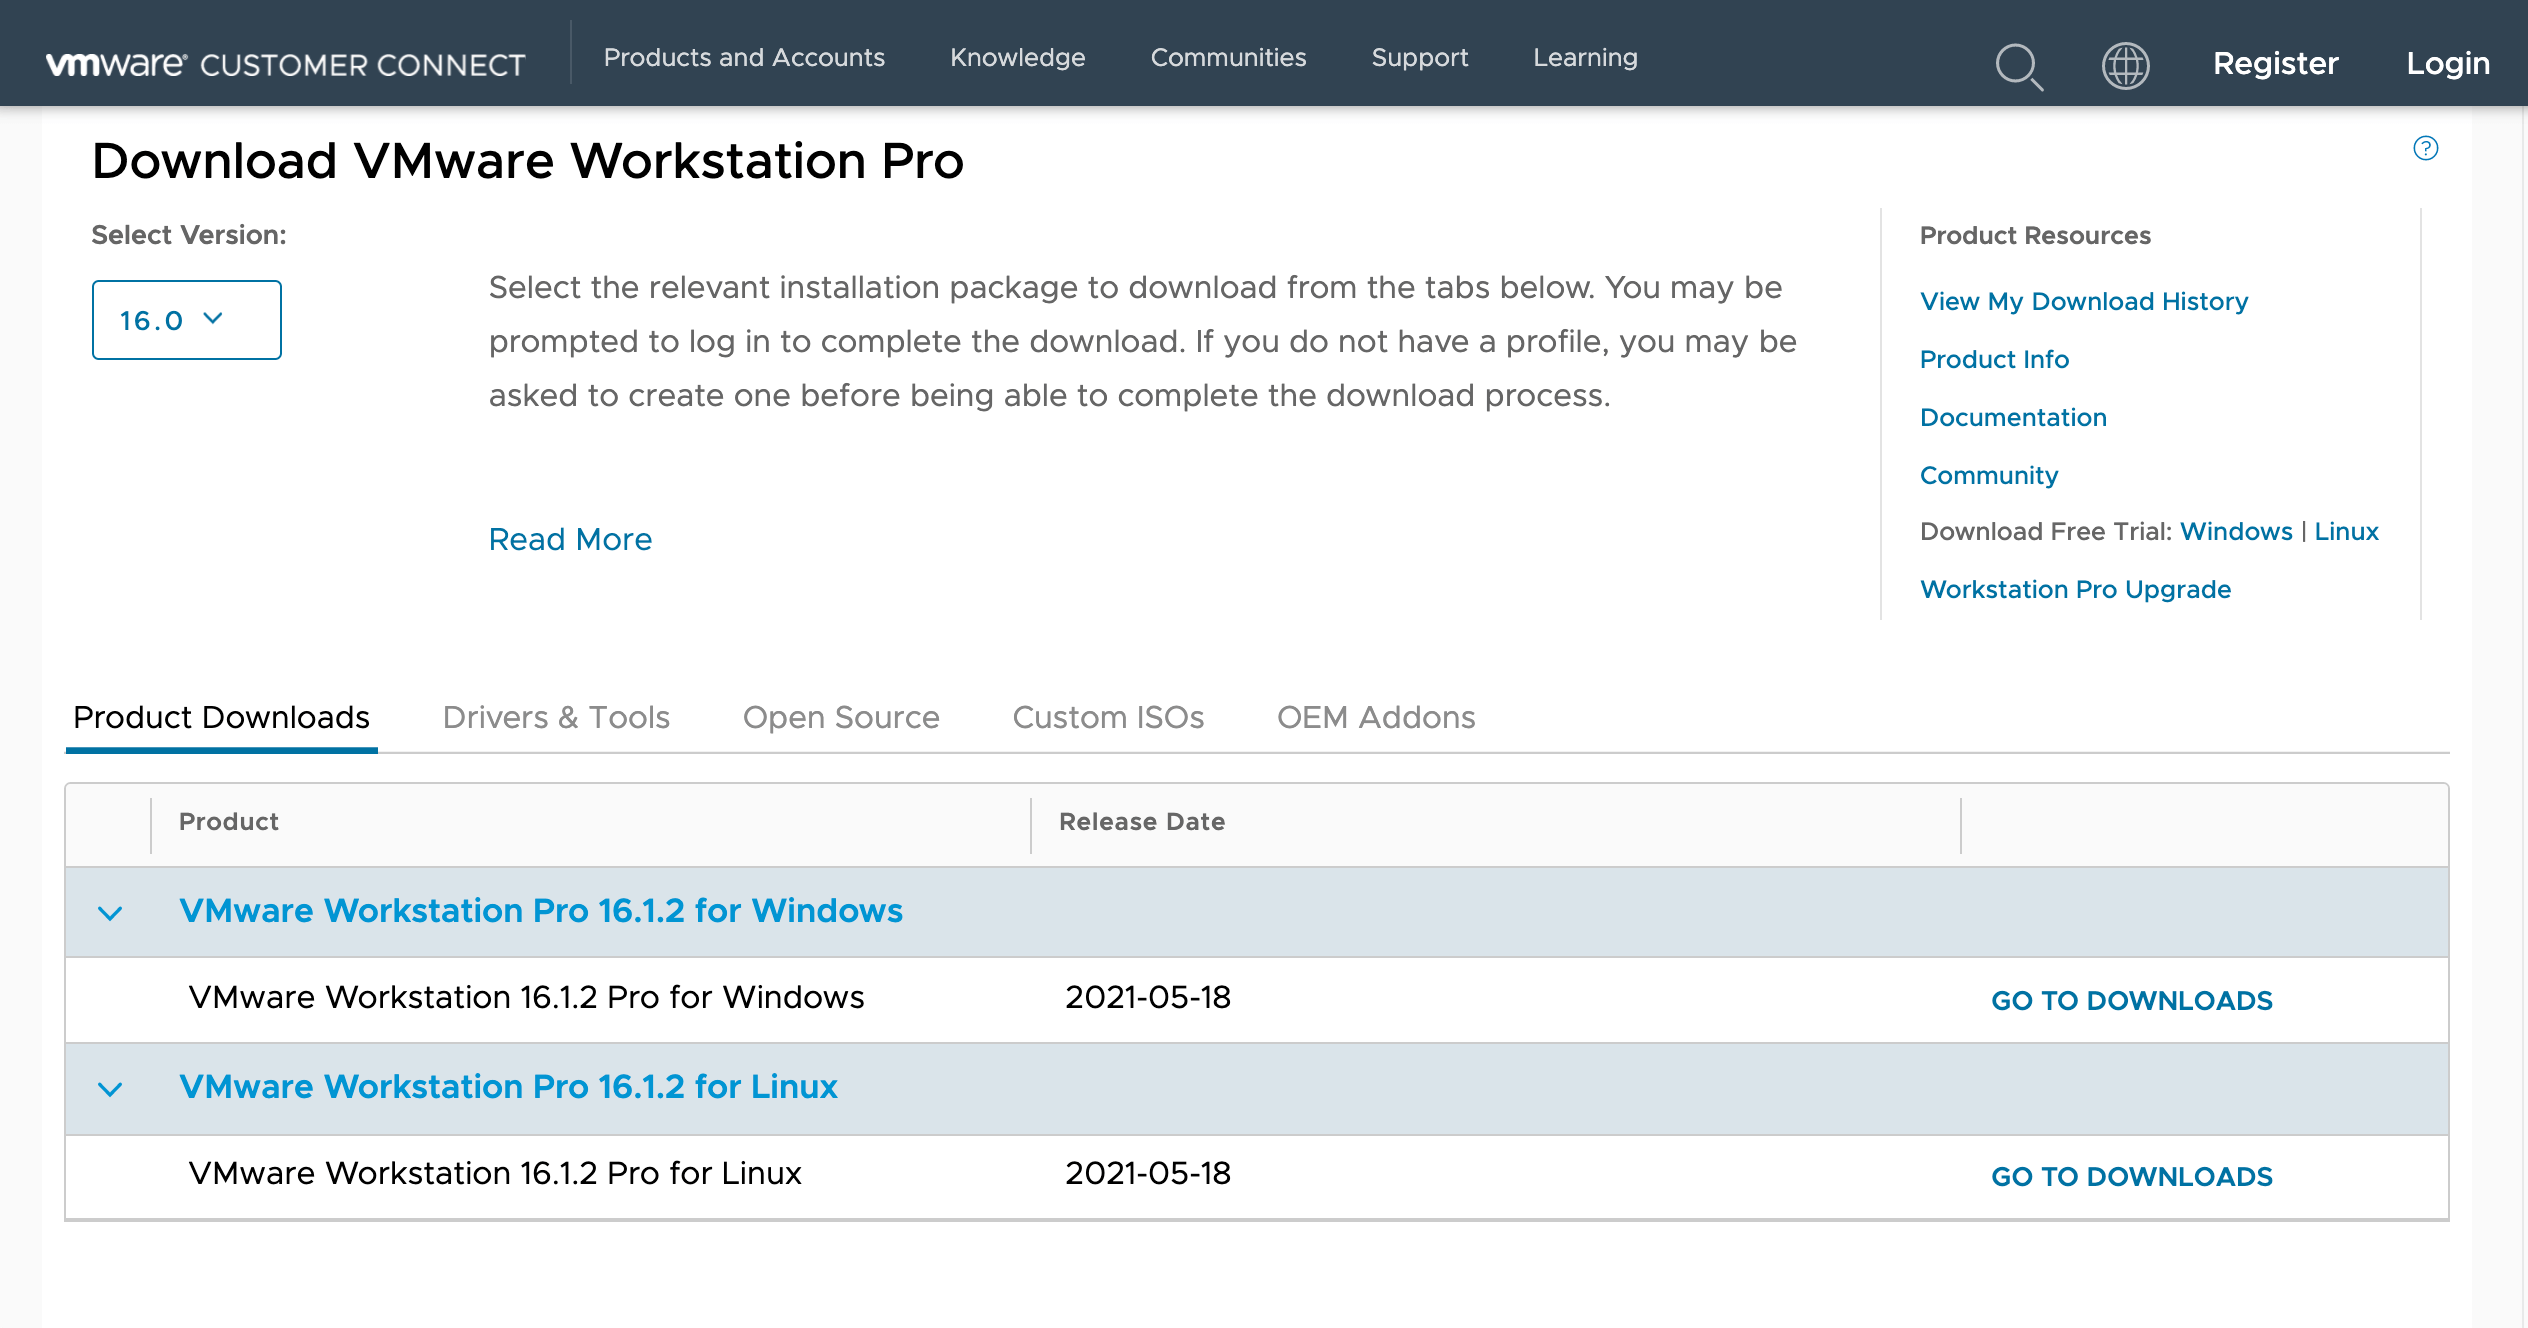
Download the VMware software, set it up and activate your license.

Second part: Server update
Step 1

Step 2

Step 3
Under the “Download” section, download the OVF and the VMDK file for the “Controller VM”.


Step 5
Start the VM on your client.

Step 6
Log in to the VM. For your first connection, the username and password are written on the VM info. This can be changed later. Warning: pay attention to your keyboard configuration. In your VM, it might be QWERTY by default.

Step 7
Enter the command “ifconfig” to display your IP address. The line “inet” on the eth0 section displays the IP address of your VM. If your server does not have an IP address, you can configure one manually.

Step 8
In a browser, connect to the address https://YourIP:5480. With “YourIP” being the IP address you collected from the previous step. Enter your username as admin and the password being the one you used to connect to the VM.

Step 9 (optional)

Step 10
Go to the “Address” tab, under the “Network” section. Eth0 corresponds to the ZC IP address and eth0:0 corresponds to the MMR IP address. Eth0:0 depends on eth0 because the MMR are controlled by the ZC. You can set eth0 as DHCP, it should give you YourIP as IP address and the netmask is also indicated thanks to the ifconfig command. You will also need to setup eth0:0 with a determined IP. You can either ask your network team for a free IP you can use or set one yourself. You can usually keep the same subnet (the three first digit of your IP) and increase the last digit by one. The netmask can be the same as your eth0 configuration. Once you’ve done that, click on submit.

Step 11
On the “Configure” Tab
-
- Check that the ZC IPv4 (Eth0) and the MMR IPv4 (eth0:0) are correctly filled.
-
- Enter the token you get from your zoom.us account manager (found on step 3 of this tutorial, click on the “copy” button).
-
- (optional) If you would like to set a backup ZC VM, enter its IP address in the “Another ZC IPv4 Address” field.
Click on submit.

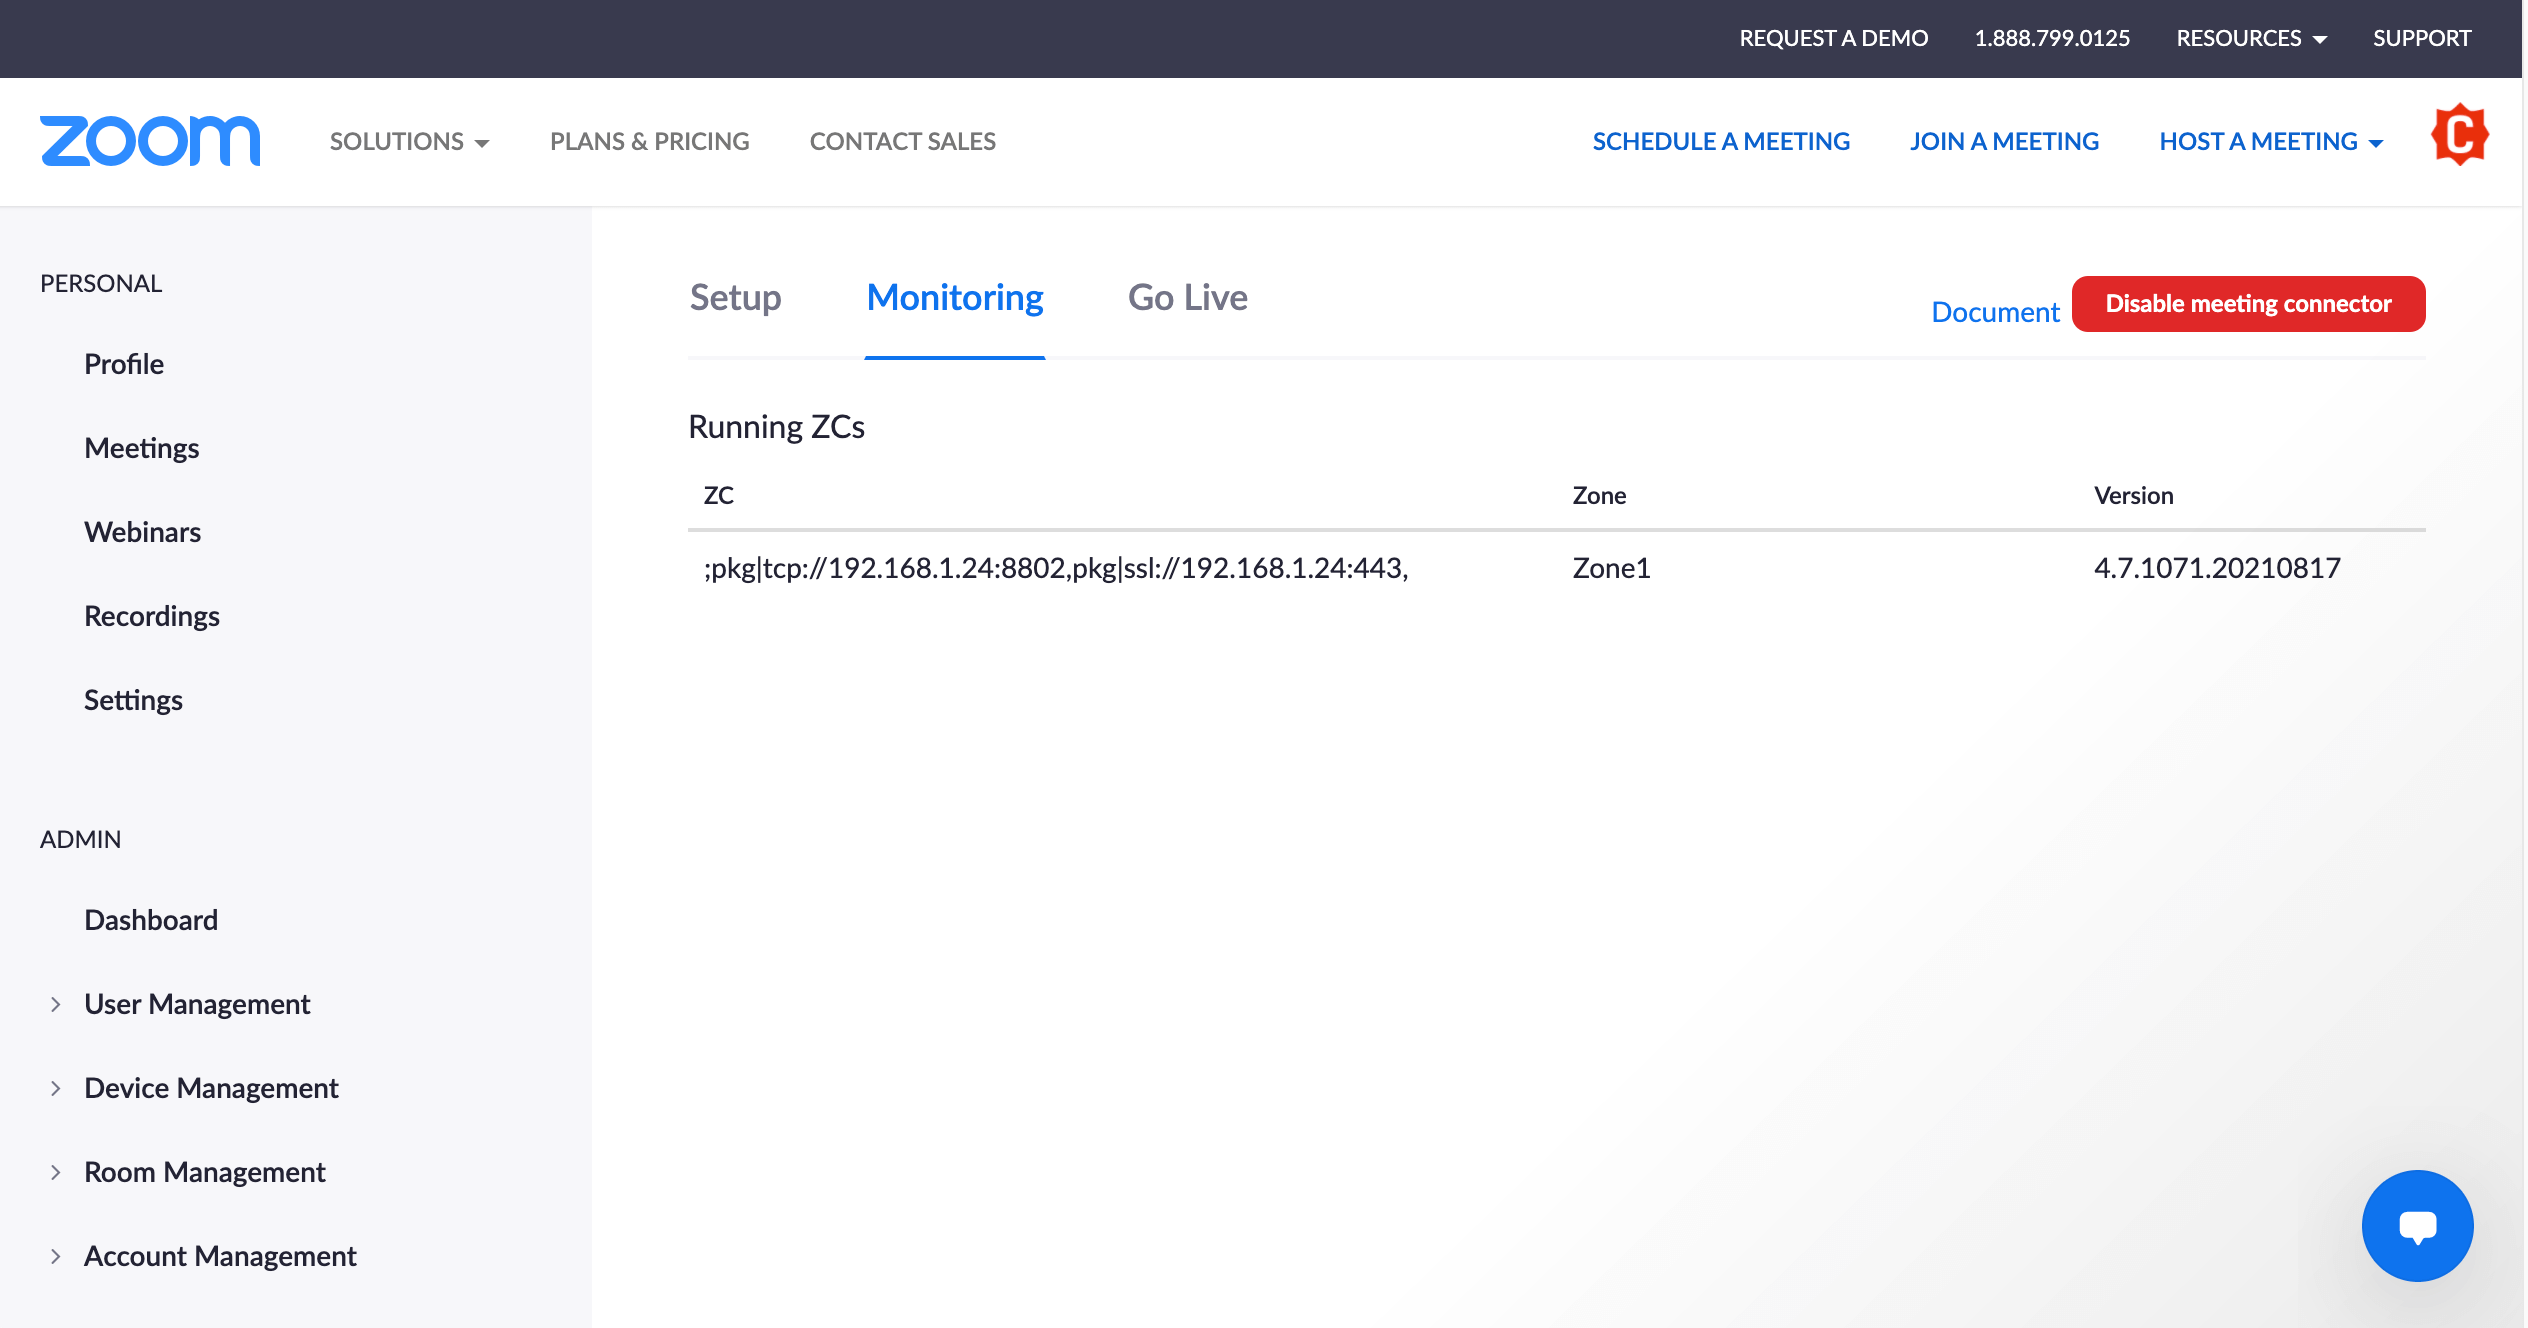
Step 12
Reminder : 1 MMR supports 200 simultaneous participants and 100 simultaneous meetings.

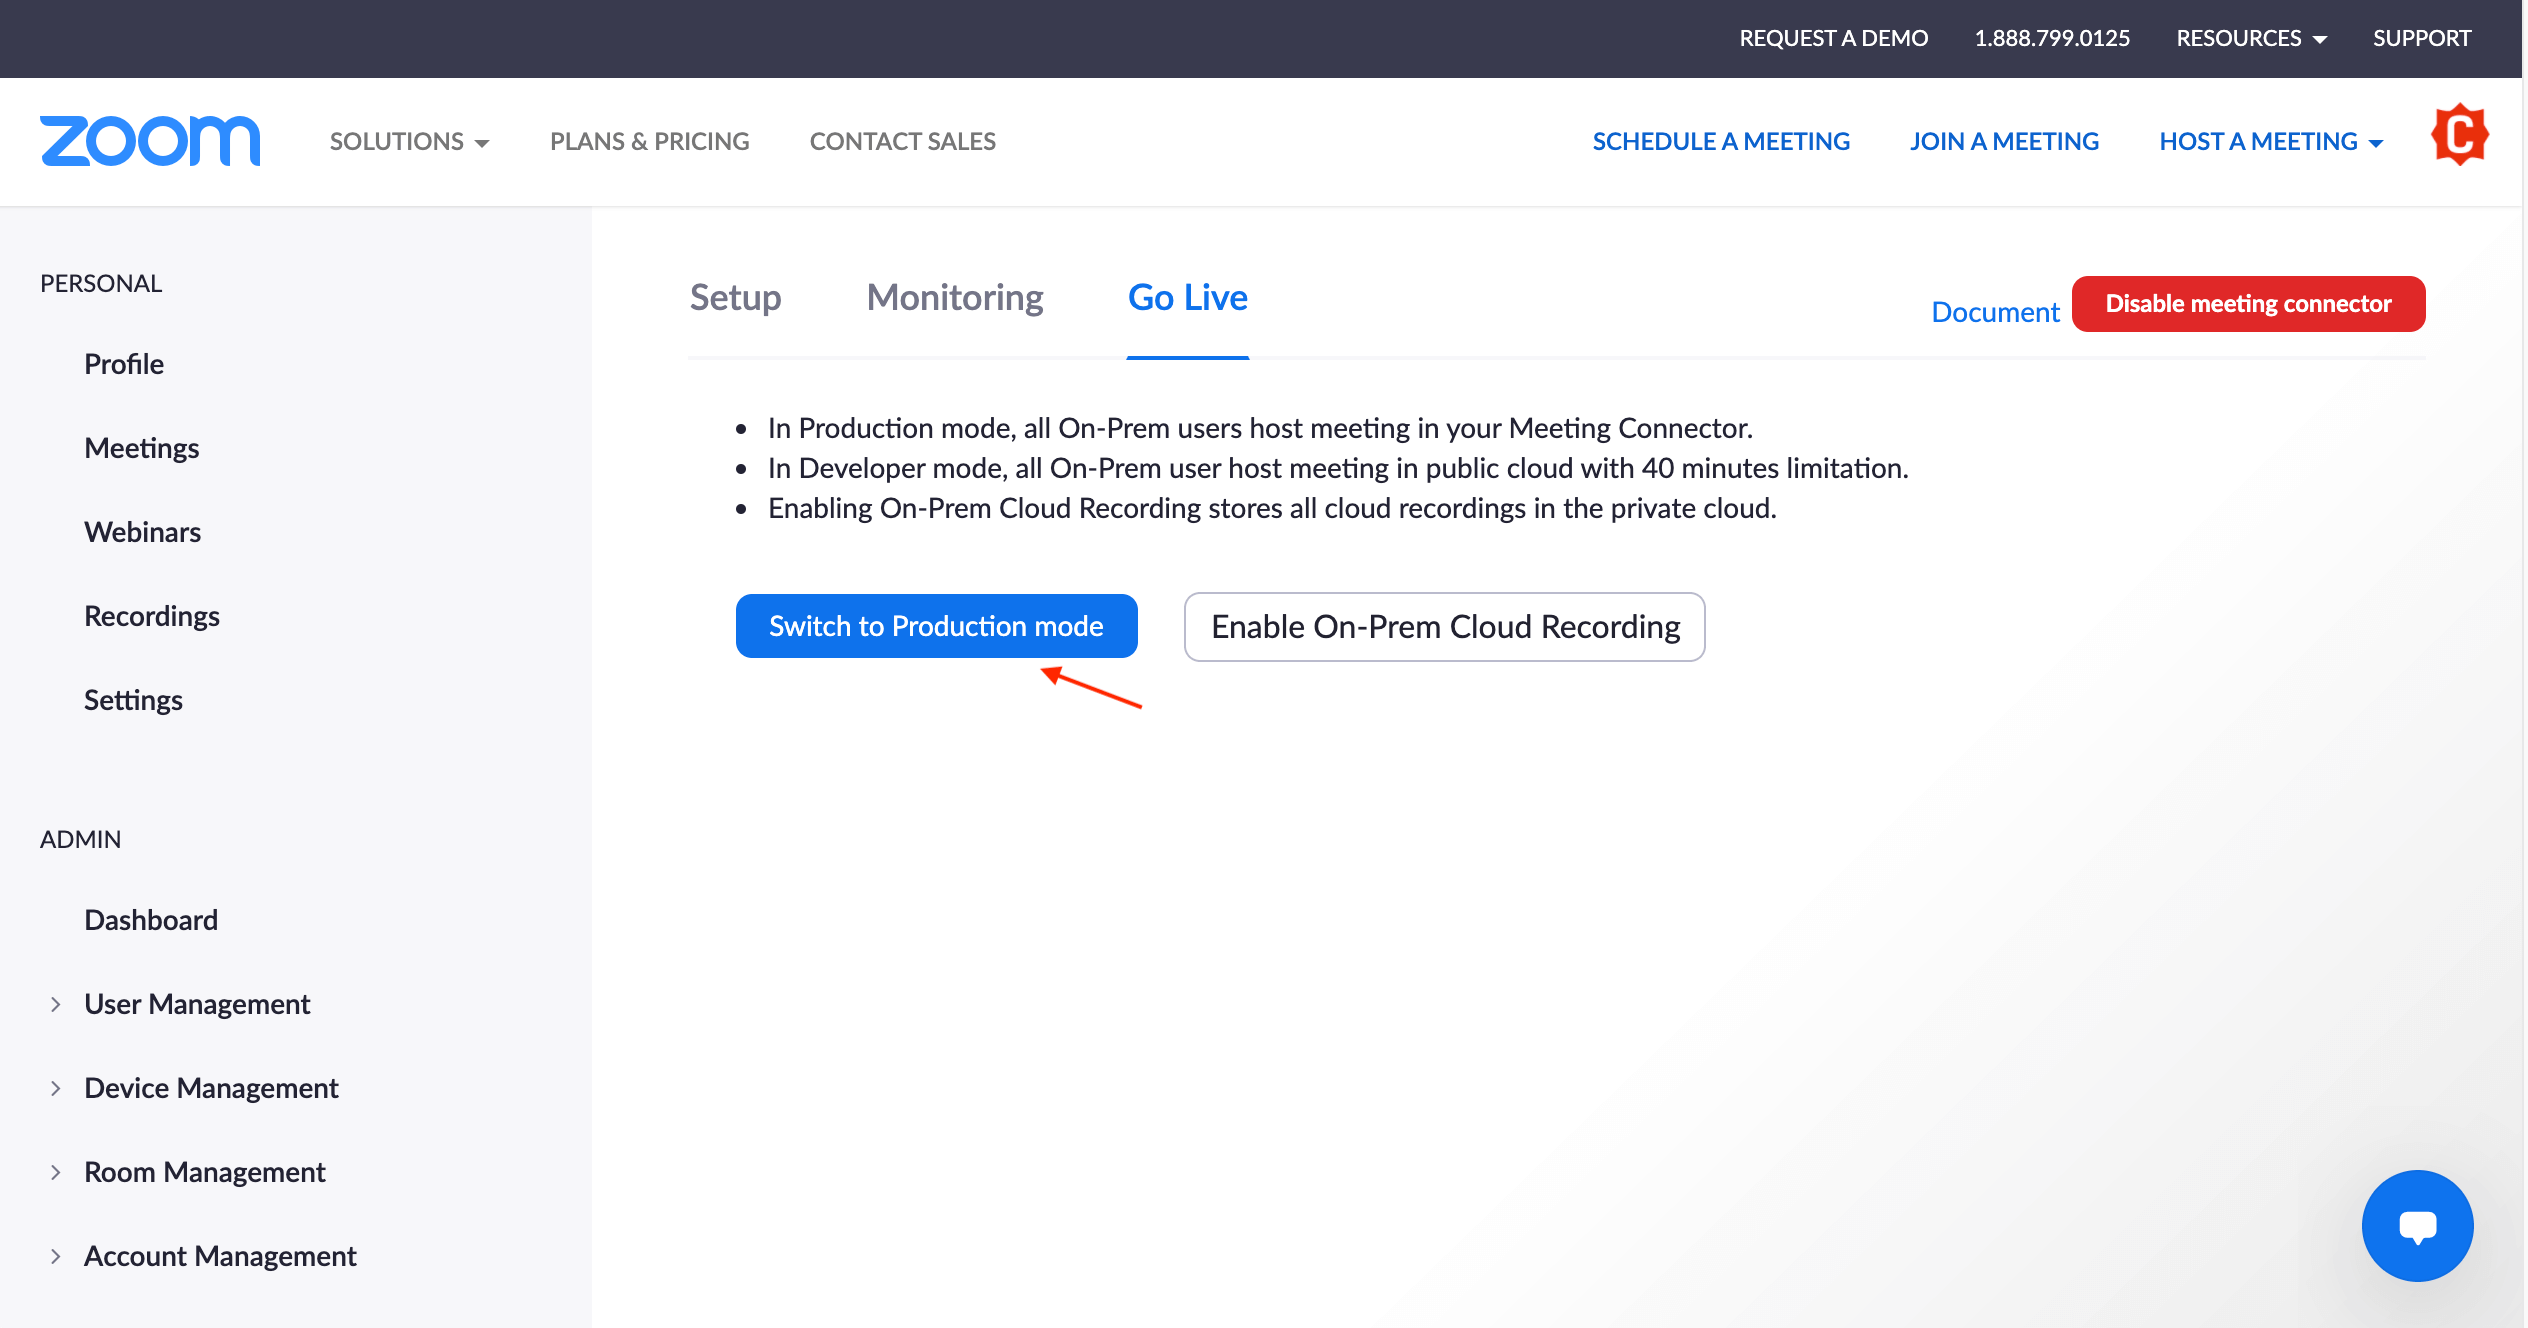
Step 13

Step 14
During the meeting, you can access to list of participants by clicking on the “Participants” button. If you want to close this list, click again on the “Participants” button.

Step 15
Note: a Zoom license is needed to allocate a user with “On-Prem”.

