How to use the networking platform?
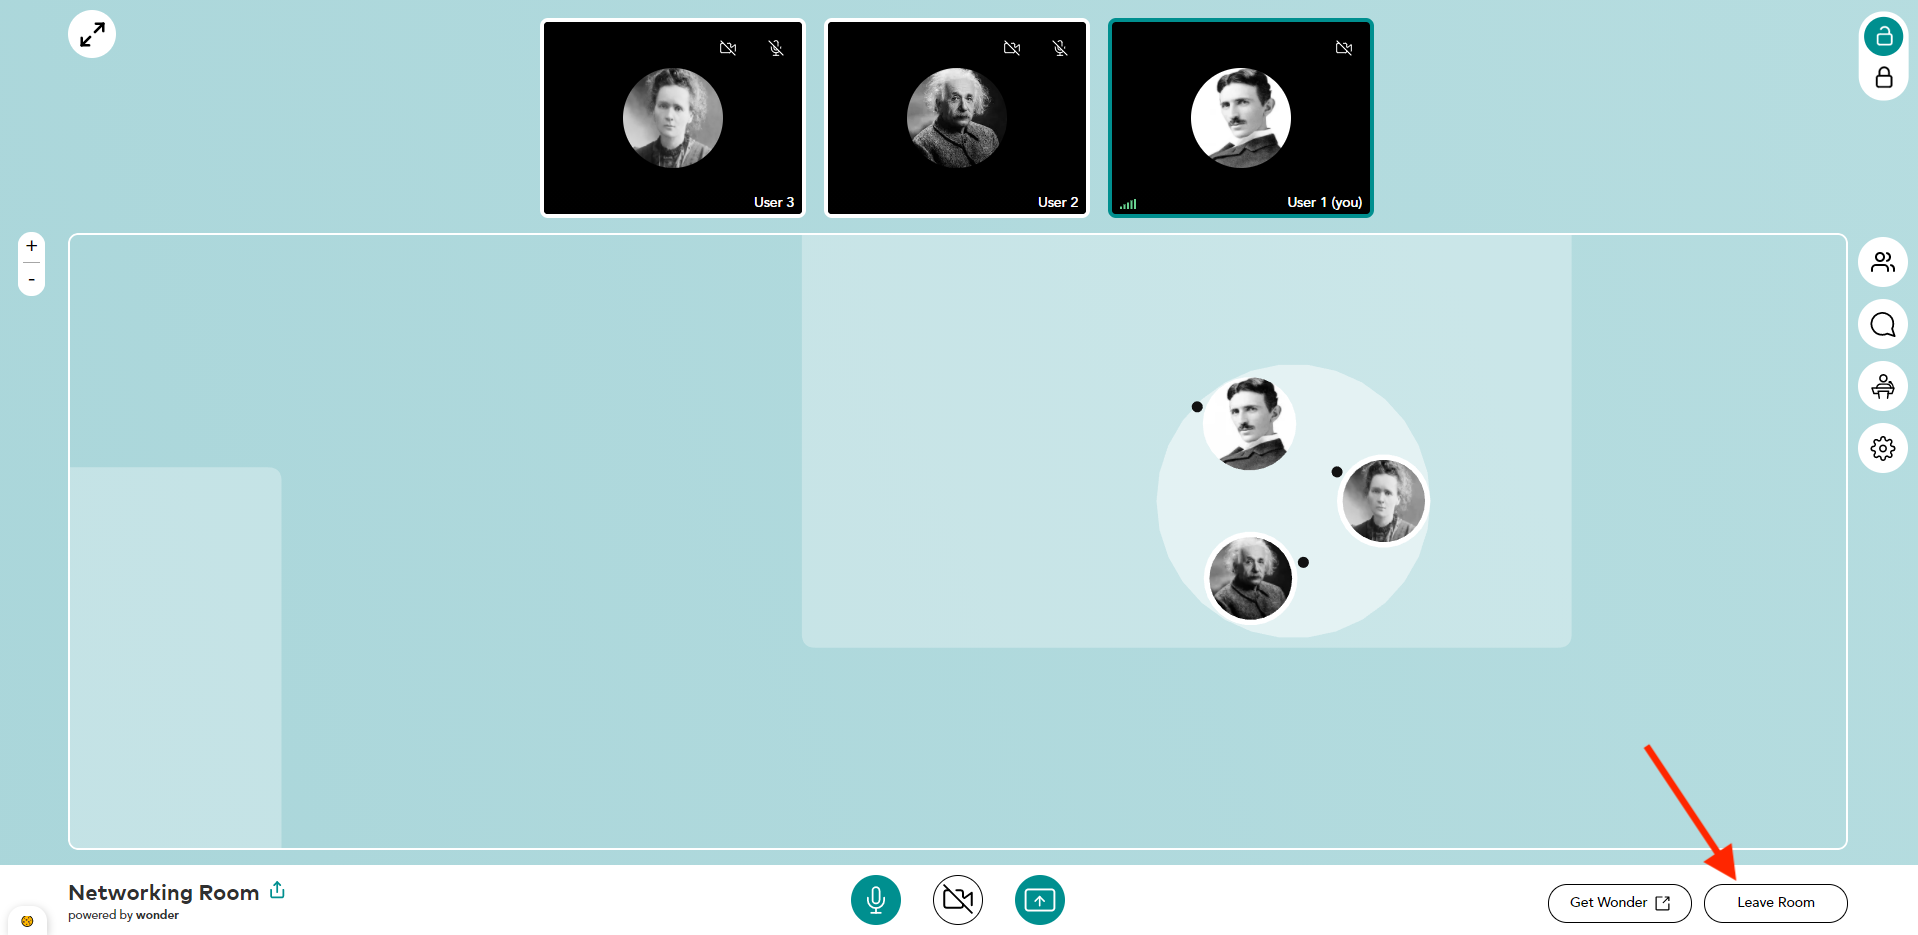
On this tool the participants are represented by avatars. They can therefore move around to go in circles to participate in video discussion groups.
Sign in
Step 1 (optional)
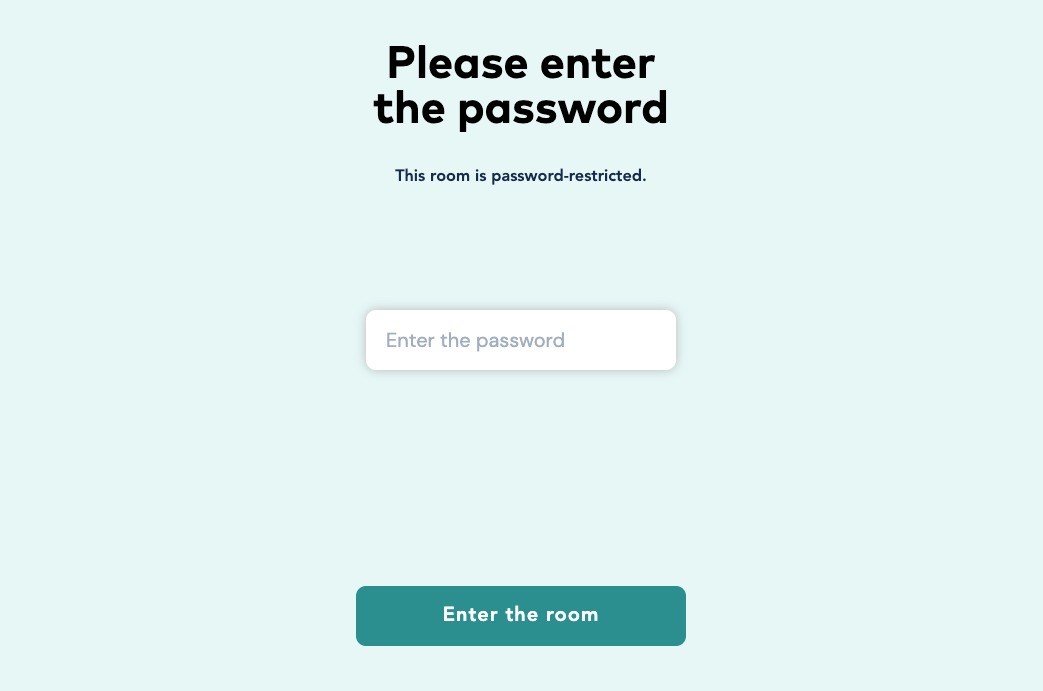
If this option is enabled you will be asked for a password to join the session.
Step 2
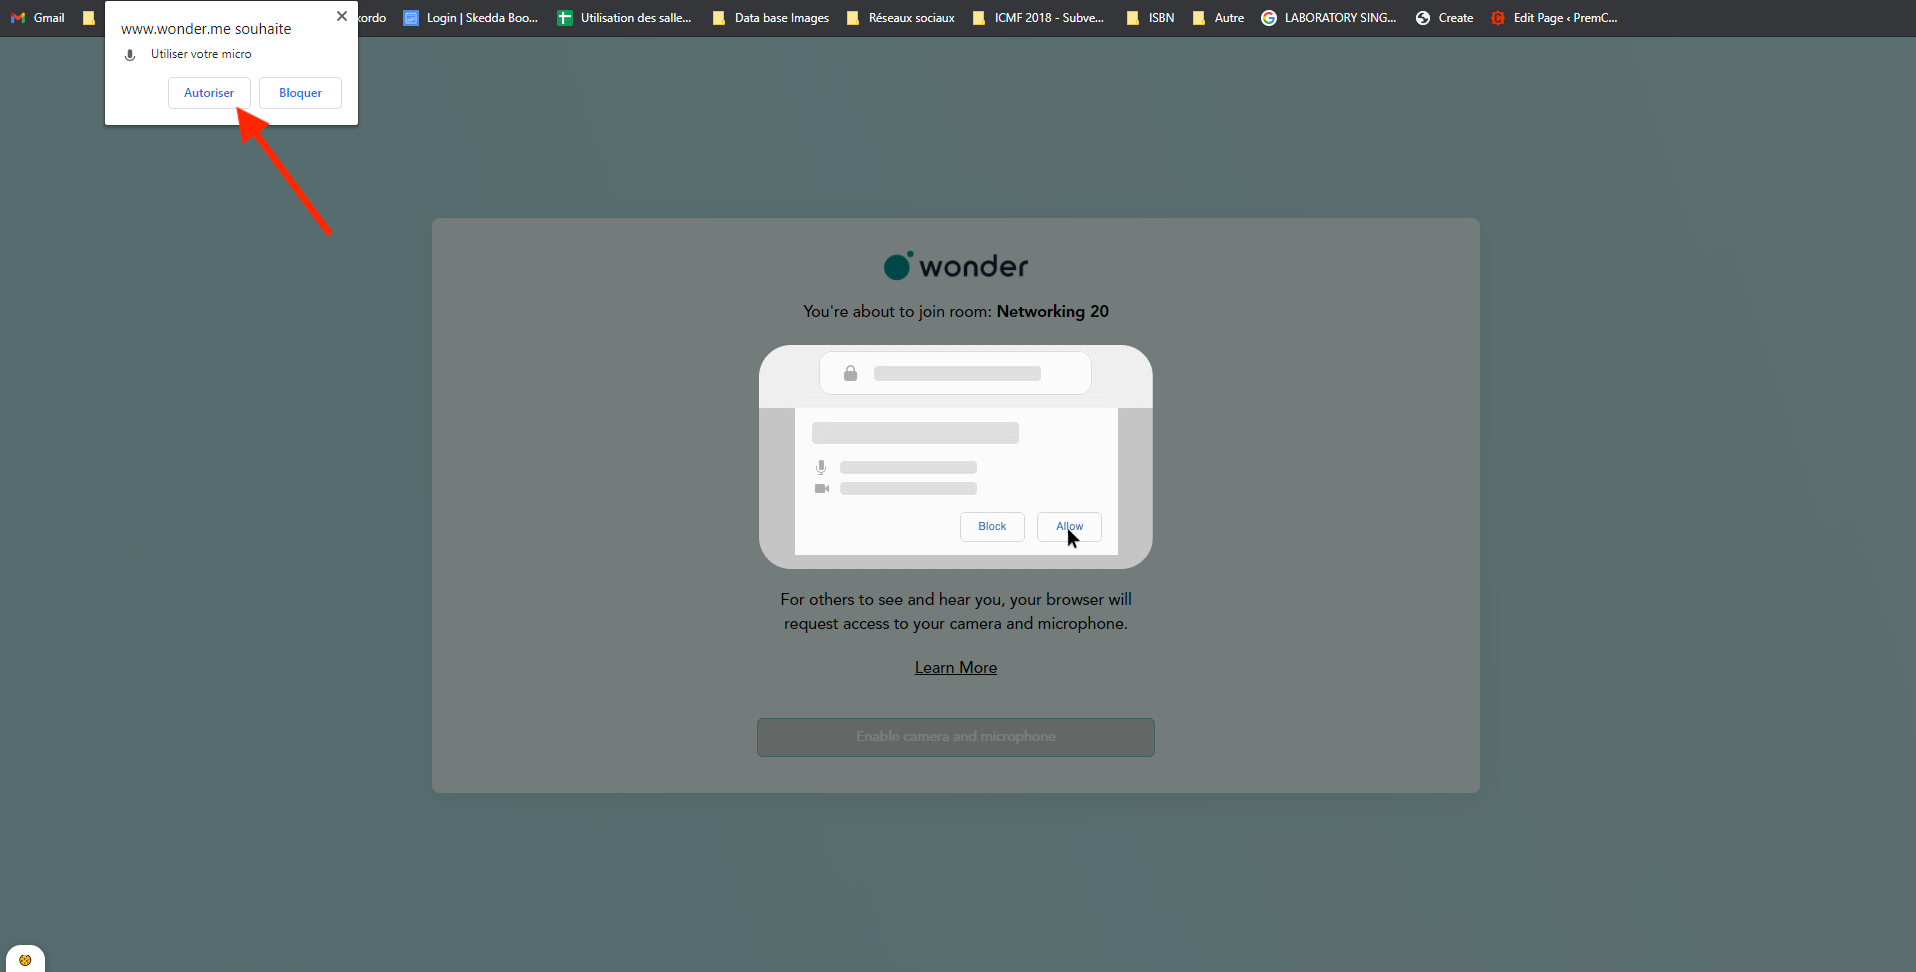
To activate your camera and microphone click on the button “Enable camera and microphone”.

Step 3
Click the “Allow” button at the top left to authorize the use of your microphone.
Step 4
Enter your first and last name, then click on the “Next” button.

Test your configuration
Step 5
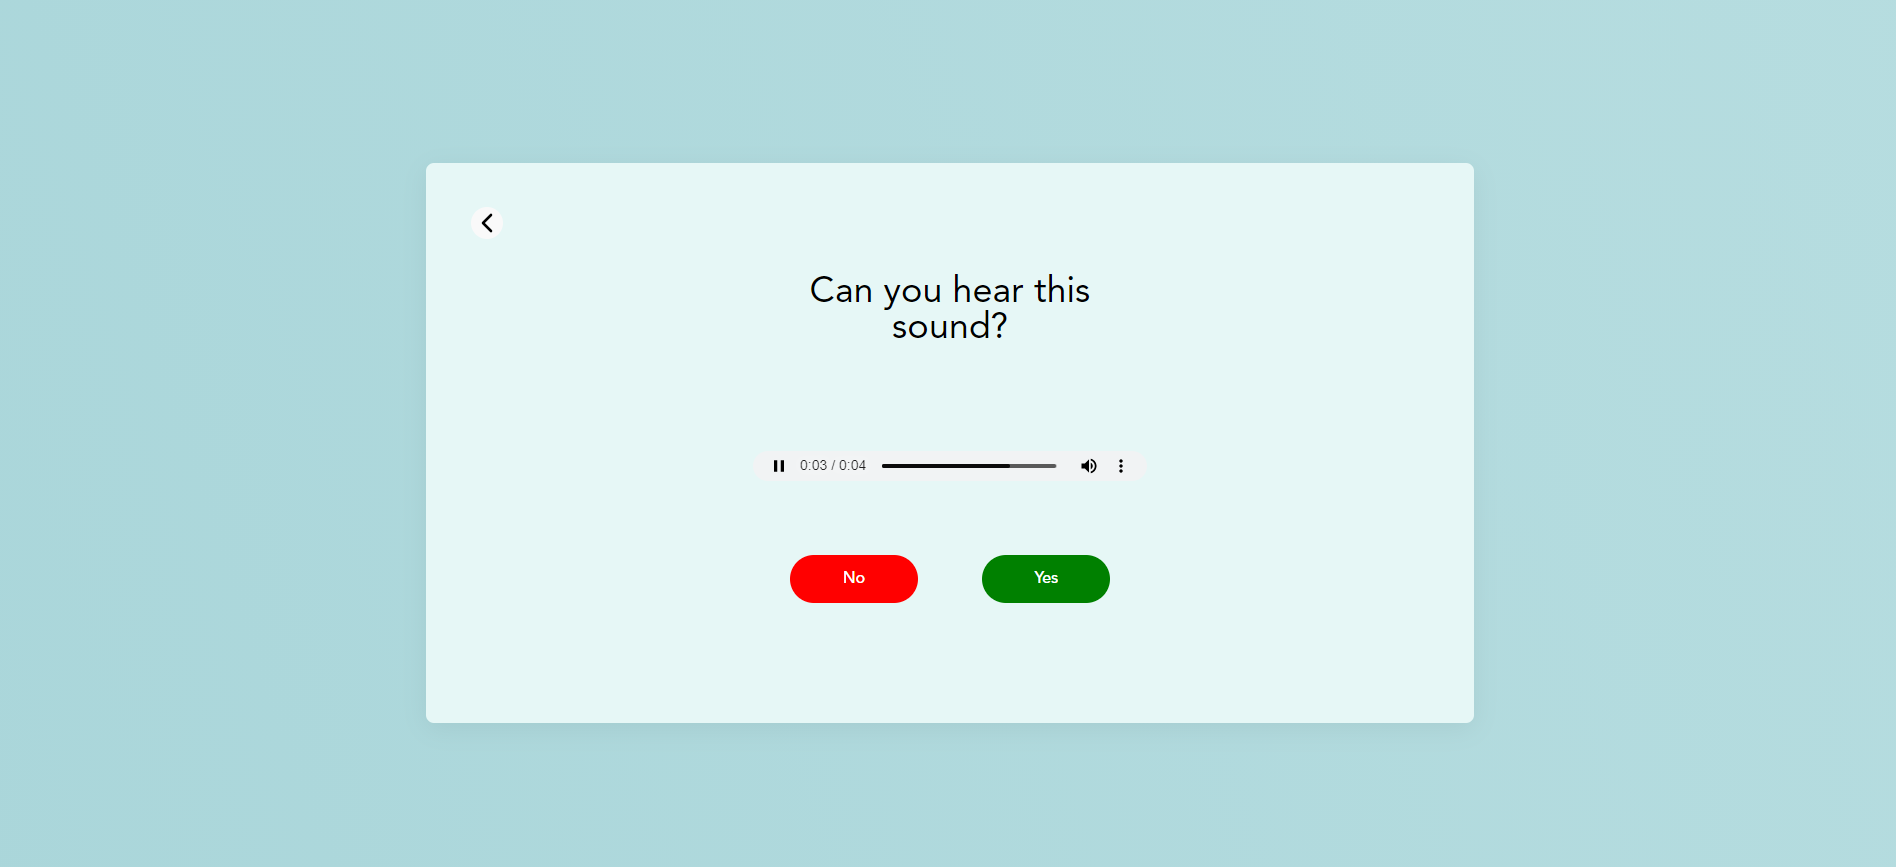
You will first be asked to test your speaker by listening to a sound sample. We strongly recommend that participants test the configuration before the beginning of the session.
Step 6
A second test will ask you to test your microphone. If you wish to use an external microphone, you can select it by clicking on “Choose a different microphone”.

The basic functions
Step 7
To move around, use your keyboard ⬅️ ⬆️ ➡️ or click and hold, your avatar will follow your pointer.
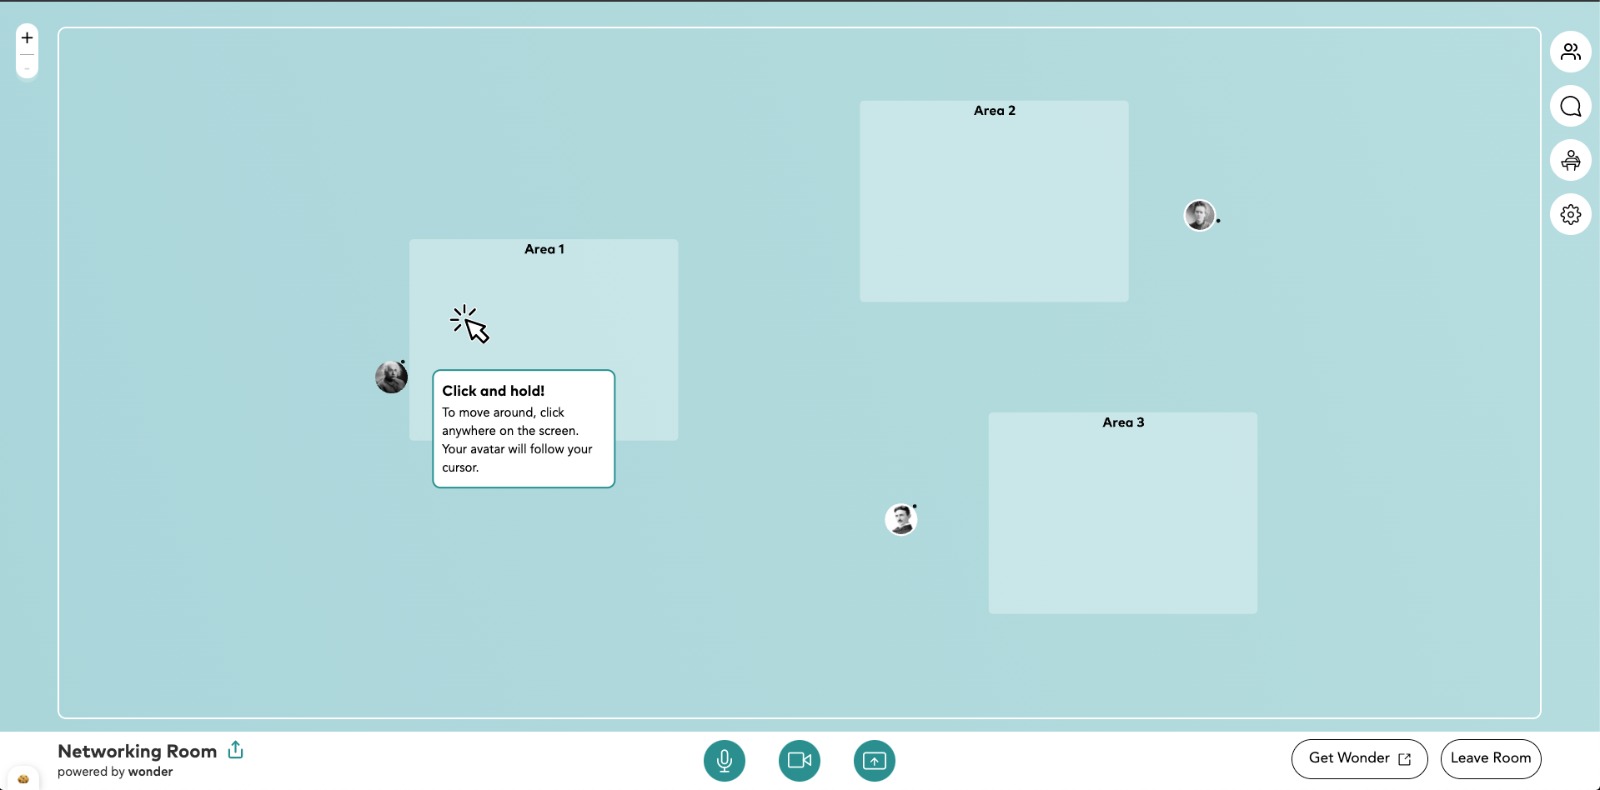
Step 8
By clicking on the “Micro” and “Camera” buttons you can activate and deactivate your microphone and video.

Discussion with participants
Step 9
If you wish to create a circle (discussion group) or join an existing circle, place your avatar on the participant of your choice. To quit the circle, simply move your avatar outside of it.

Step 10 (optional)
By clicking on the padlock at the top right, you can lock access to your circle.

Written discussion with participants
Step 11
To chat with the participant of your choice place your pointer on his/her avatar and select the “Message” button.

Step 12
Enter your message in “Type a message” then click on the “Send” button or the “Enter” key.
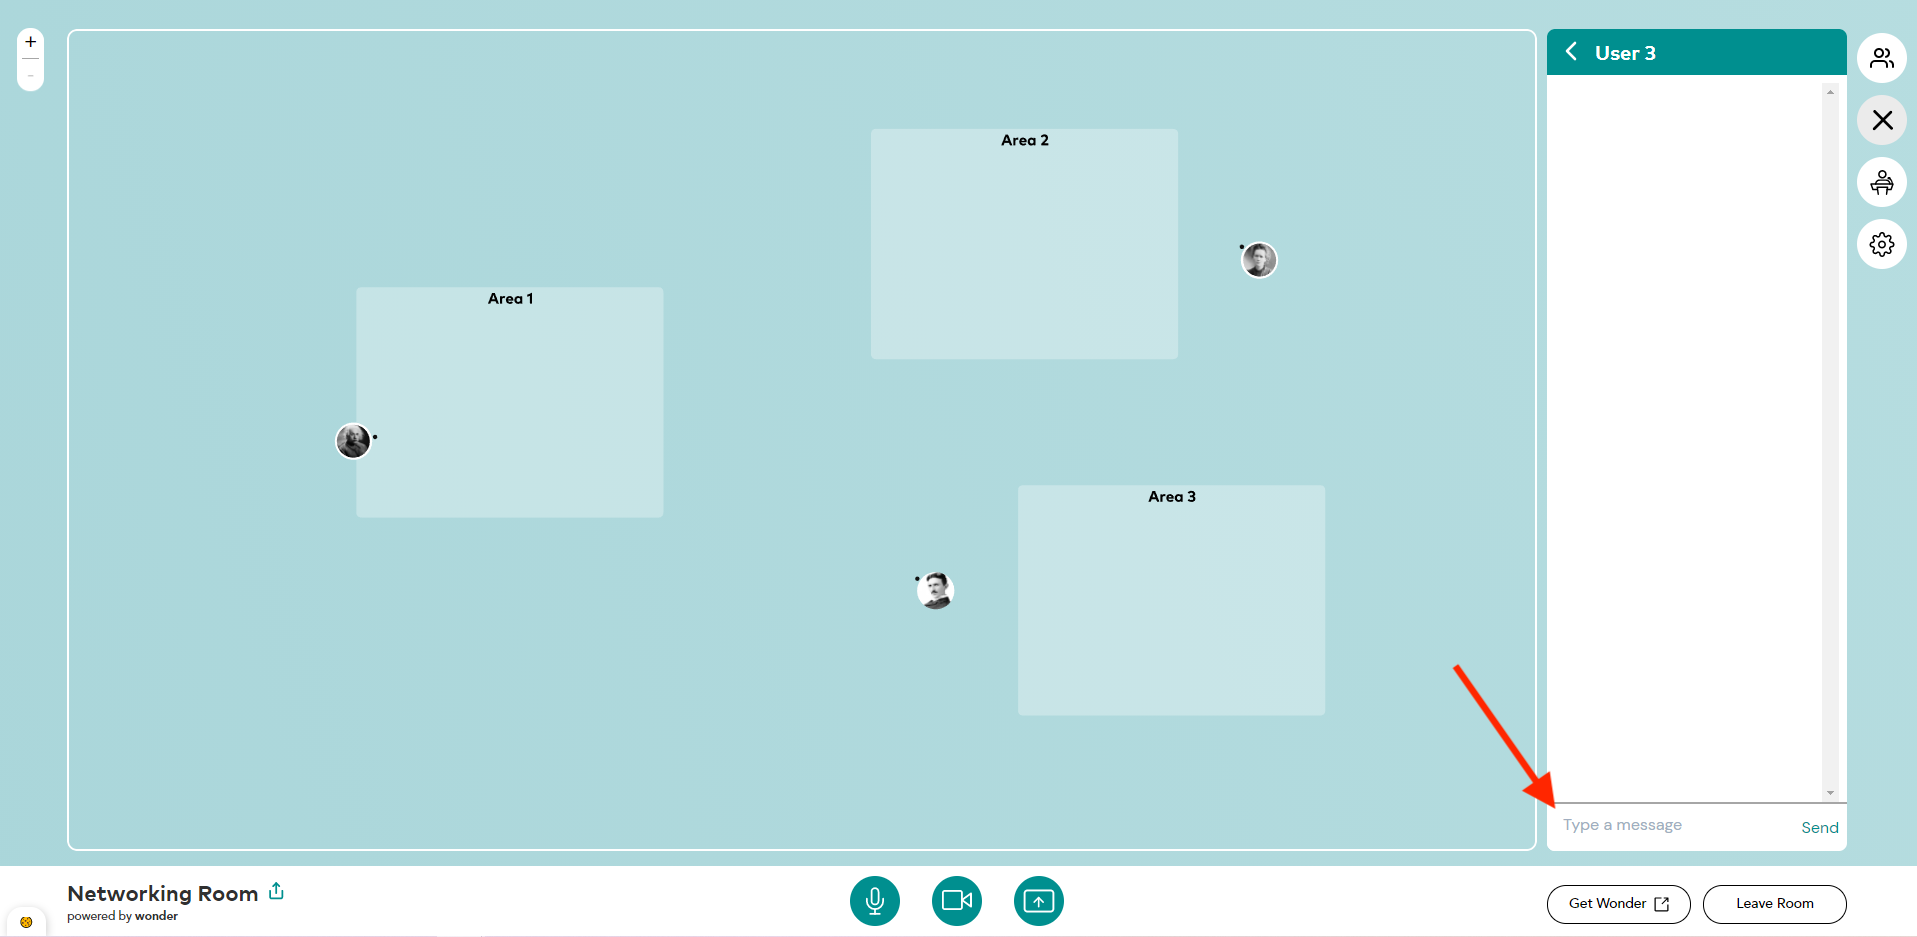
Step 13
Your message will be displayed in the chat.

Step 14
If a message is sent to you, a notification will appear and a notification badge will be written on the “Chat” button.

Step 15
The “Circle”, “Private” and “Everyone” buttons will allow you to choose the recipients of your messages. The “Circle” button allows you to send a message in the conversation of your discussion group. While the “Private” button directs to private conversations with a single participant. And finally the “Everyone” button allows you to distribute your message to all participants.

Display mode
Step 16
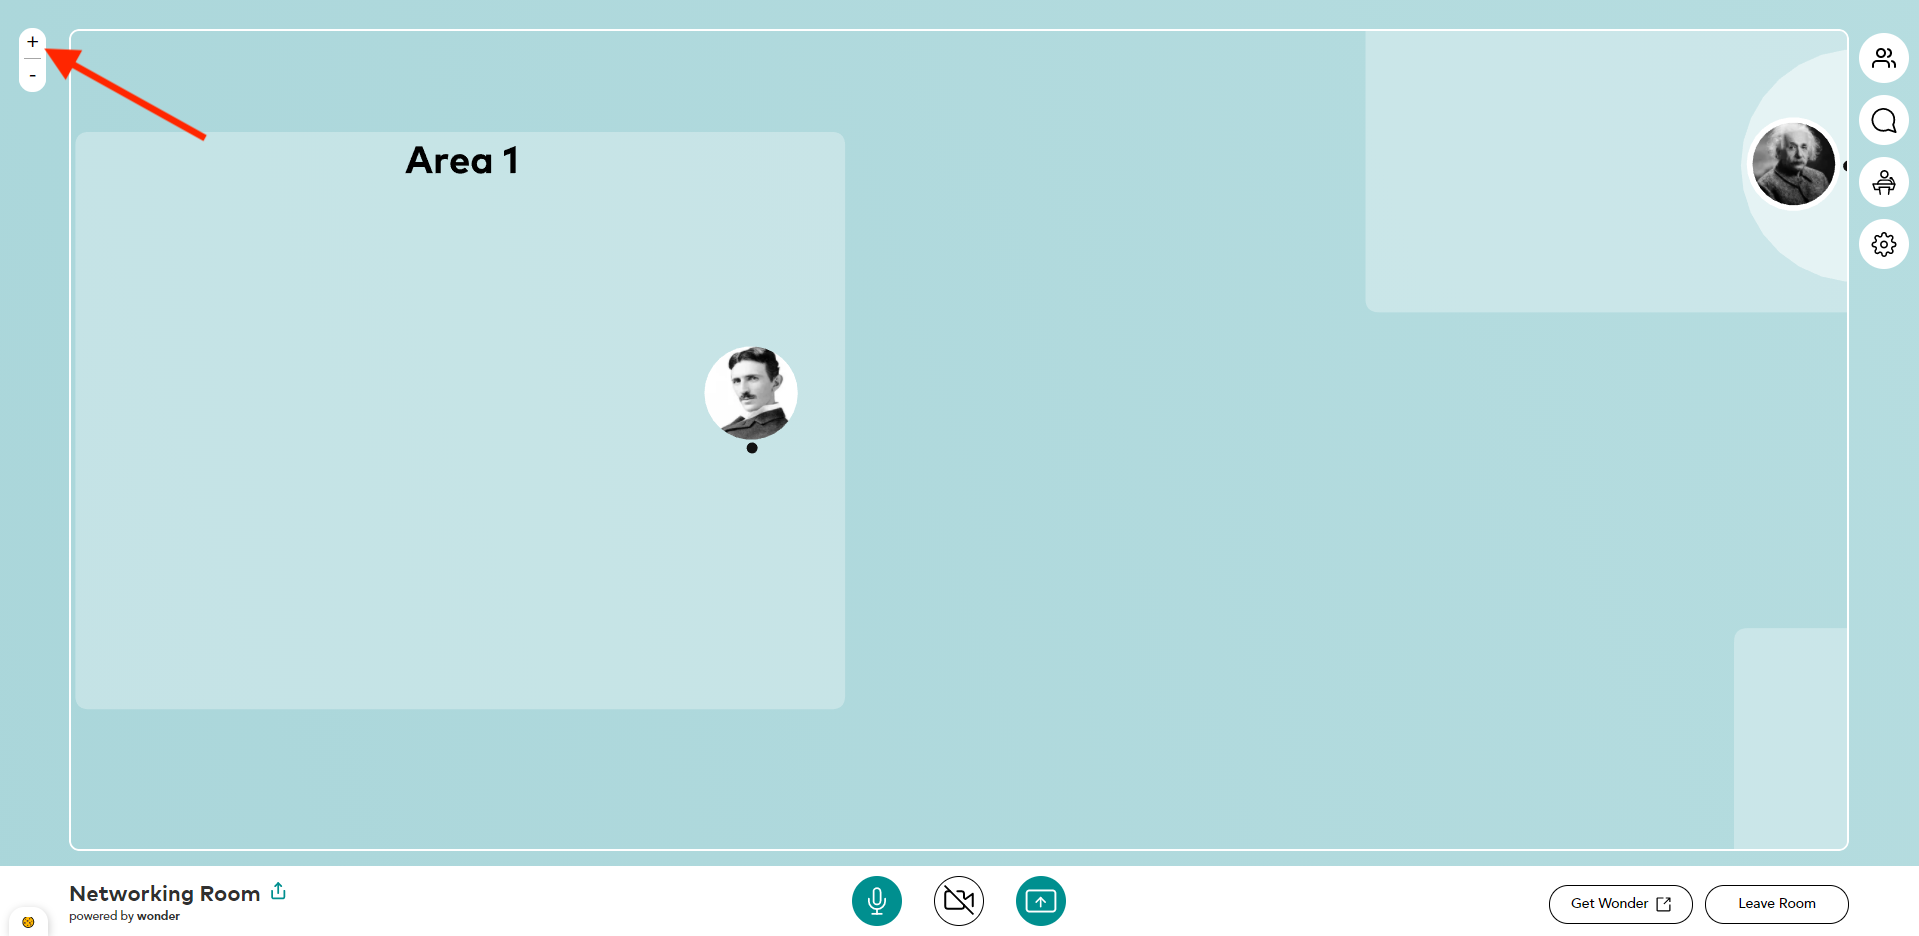
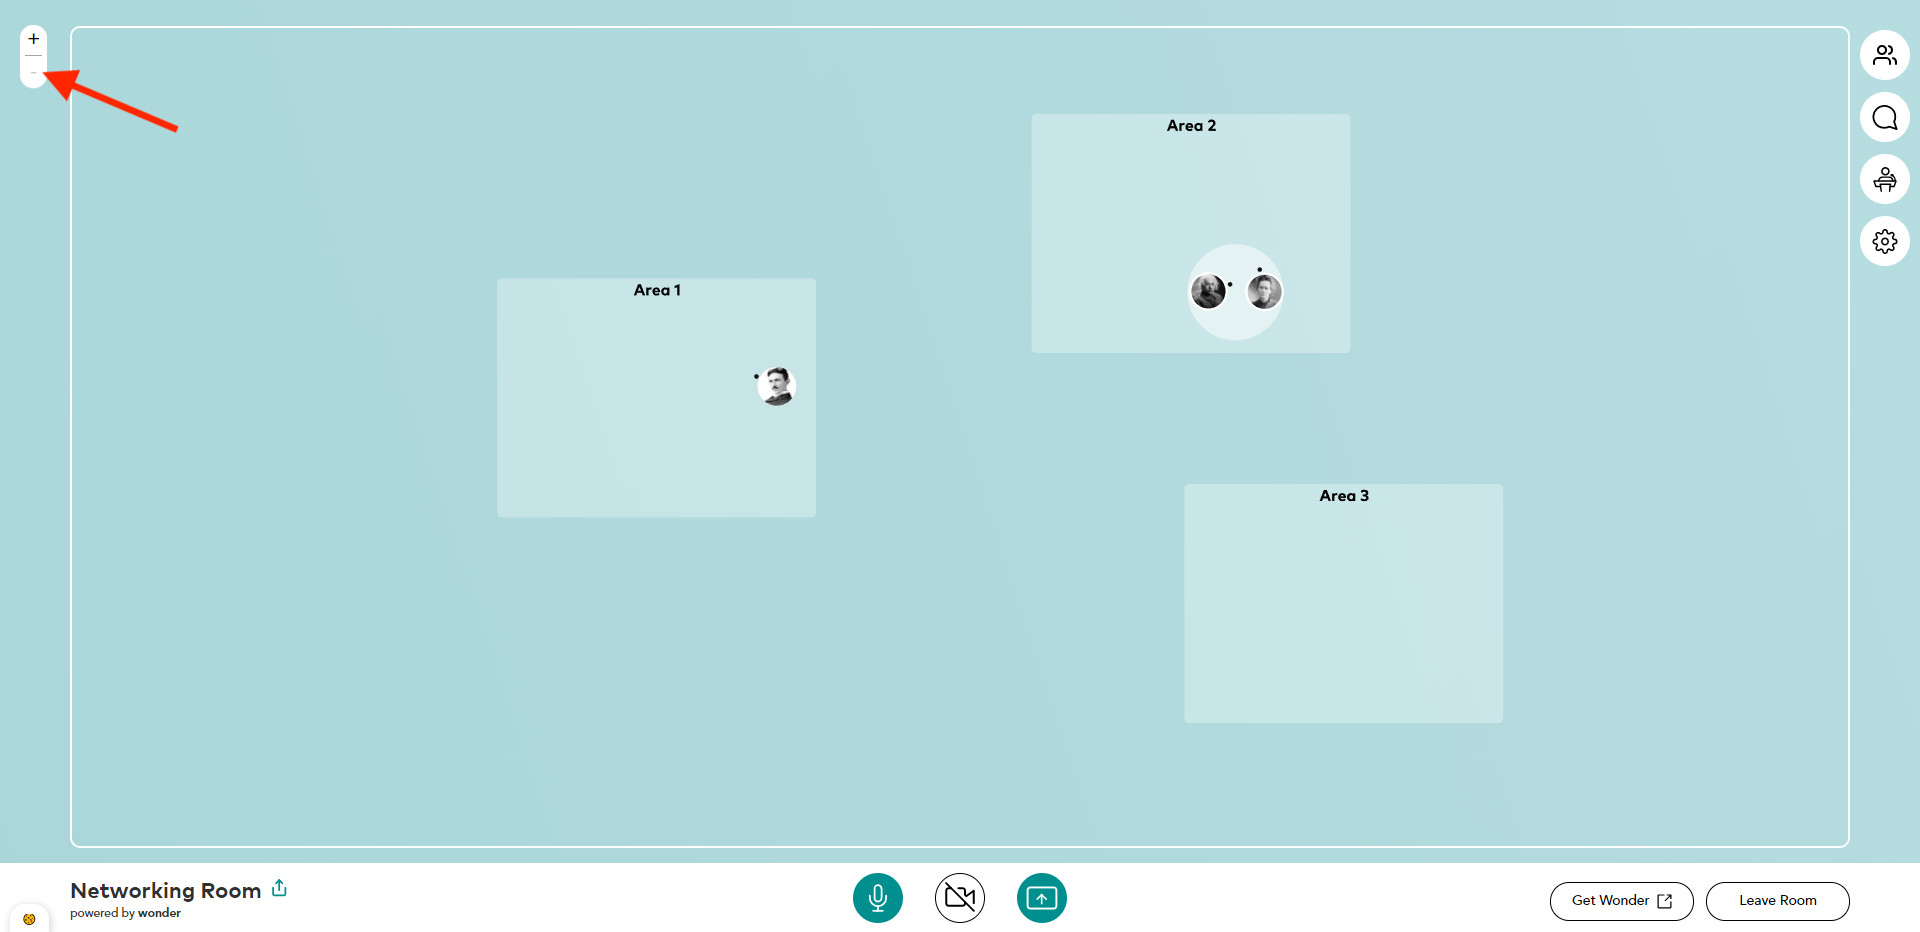
During a networking session, you can choose between two display modes: miniature and full screen.
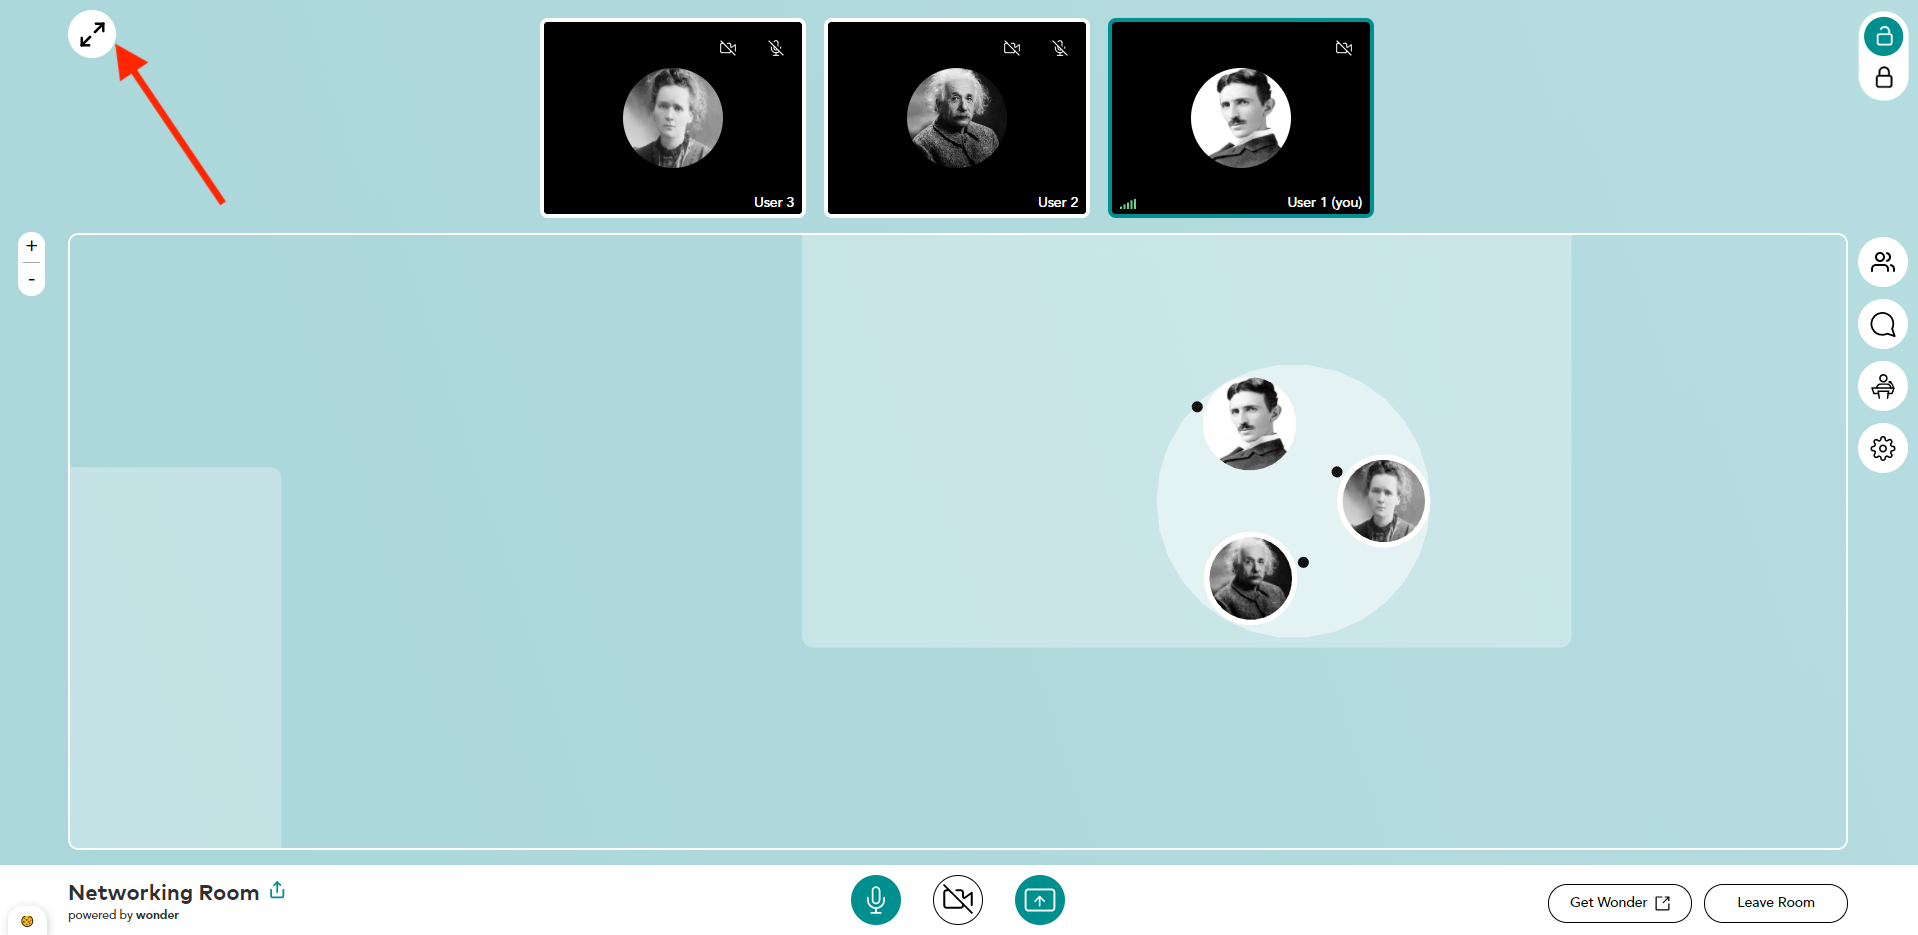
Step 17
Click on the button in the upper left corner to switch from one display mode to another.

Share your screen
Étape 18
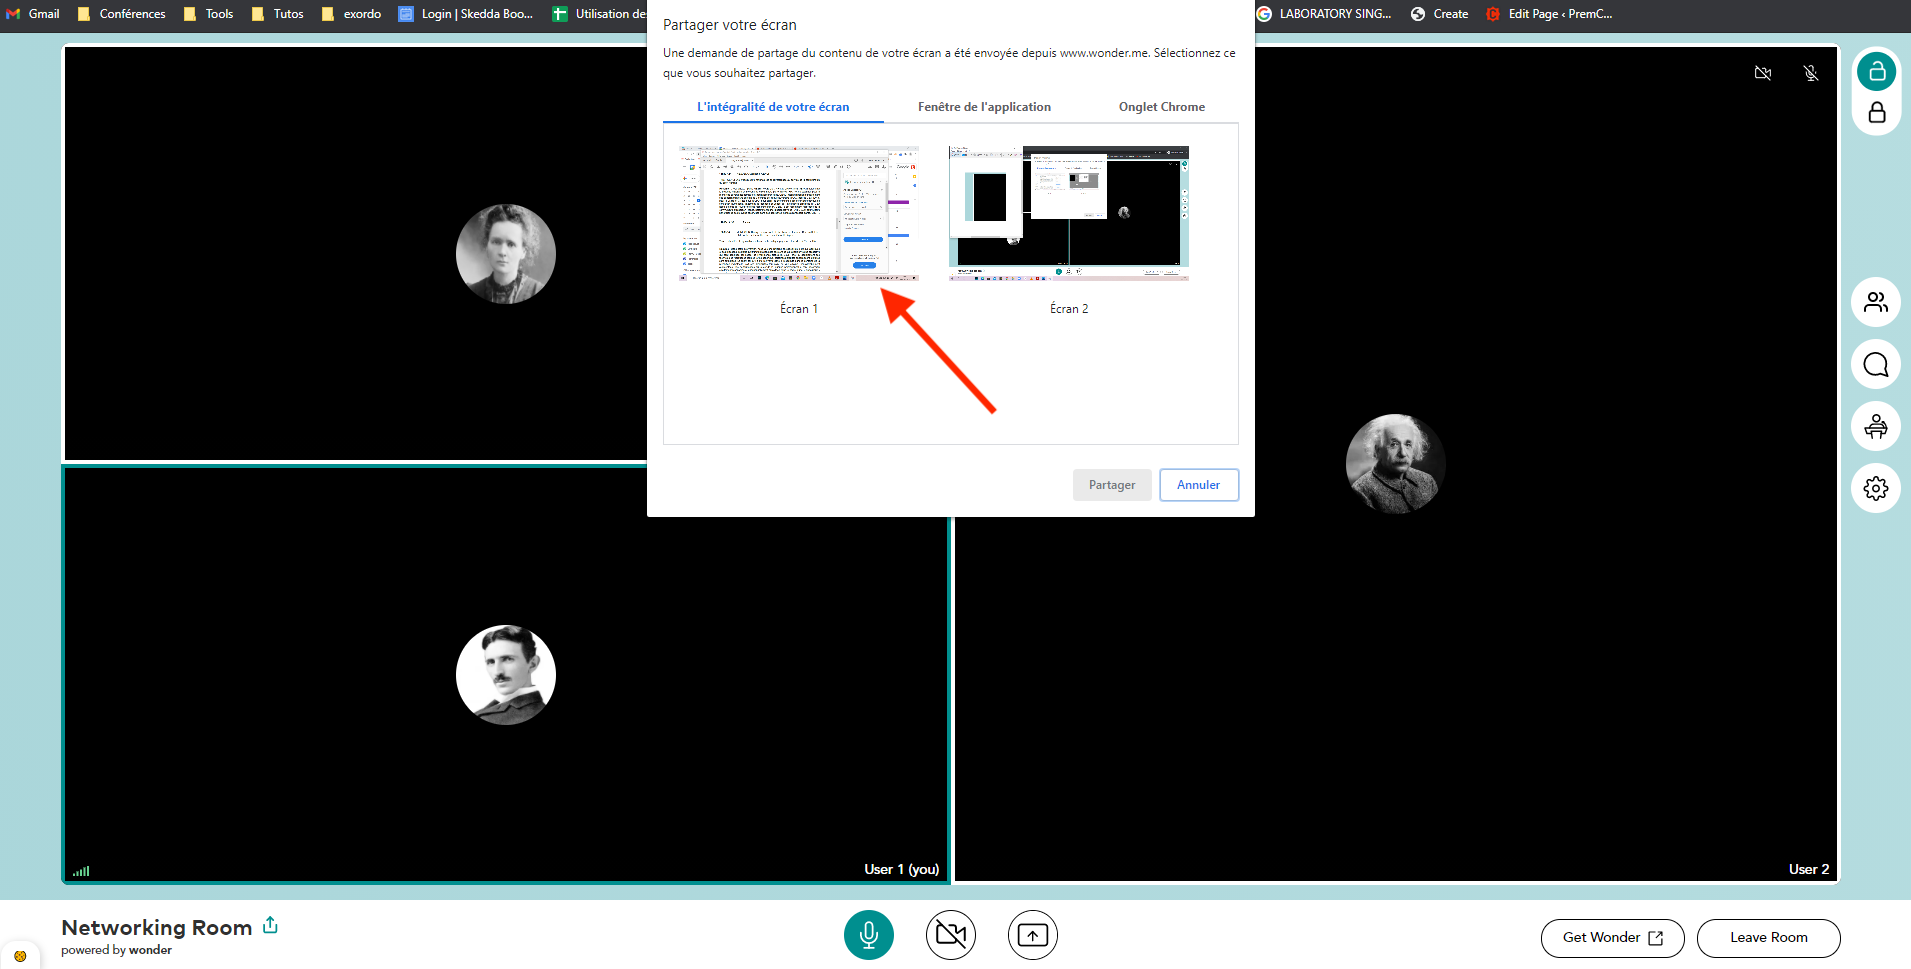
If you wish to share your screen click on this button.
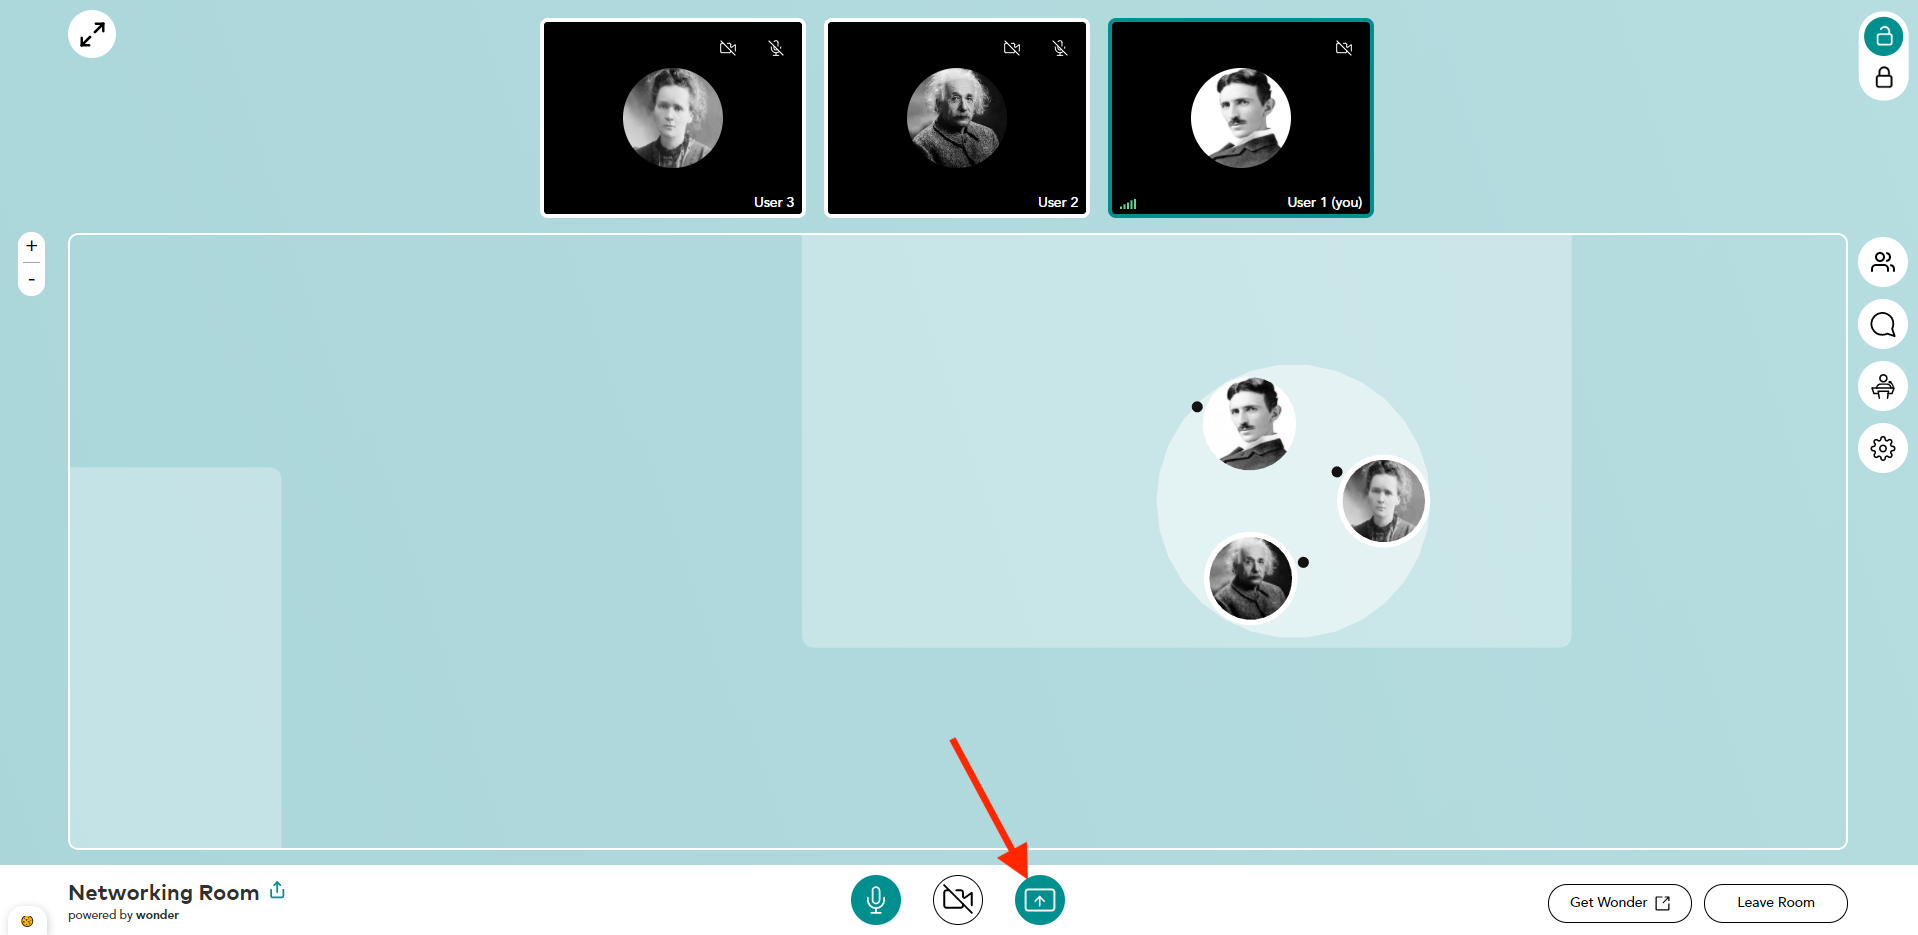
Step 19
Choose the screen you wish to share in full and then click “Share”.
Step 20 (optional)
If you want to select only one window, click on “Application Window” then select the application of your choice then click on “Share”.

Step 21
To end screen sharing click the “Stop presenting” button.

Zoom in/out
Step 22
For a better view of the items on the screen, you can zoom in by clicking on the button”➕”.
Step 23
To return to your basic screen click on the button “➖” .
Send an invitation
Step 24
If you wish to send an invitation to a participant to join your discussion group, place your pointer over his/her avatar and select “Invite to circle”.

List of participants
Step 25
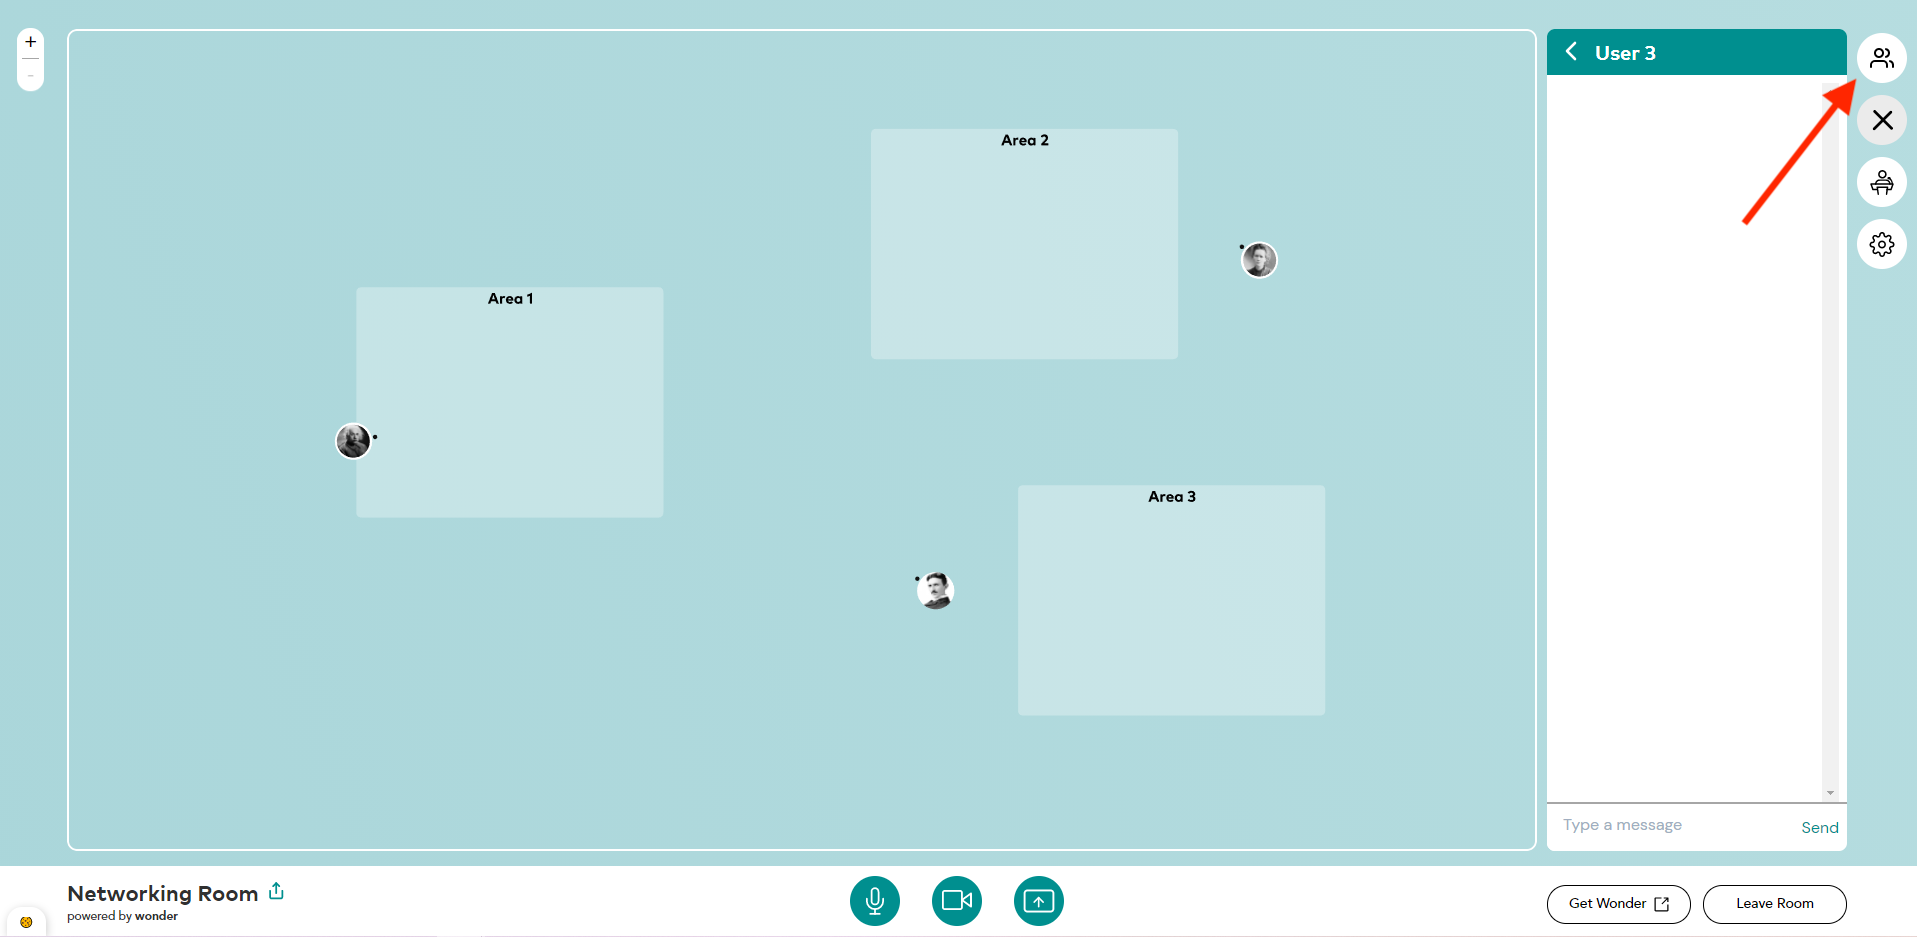
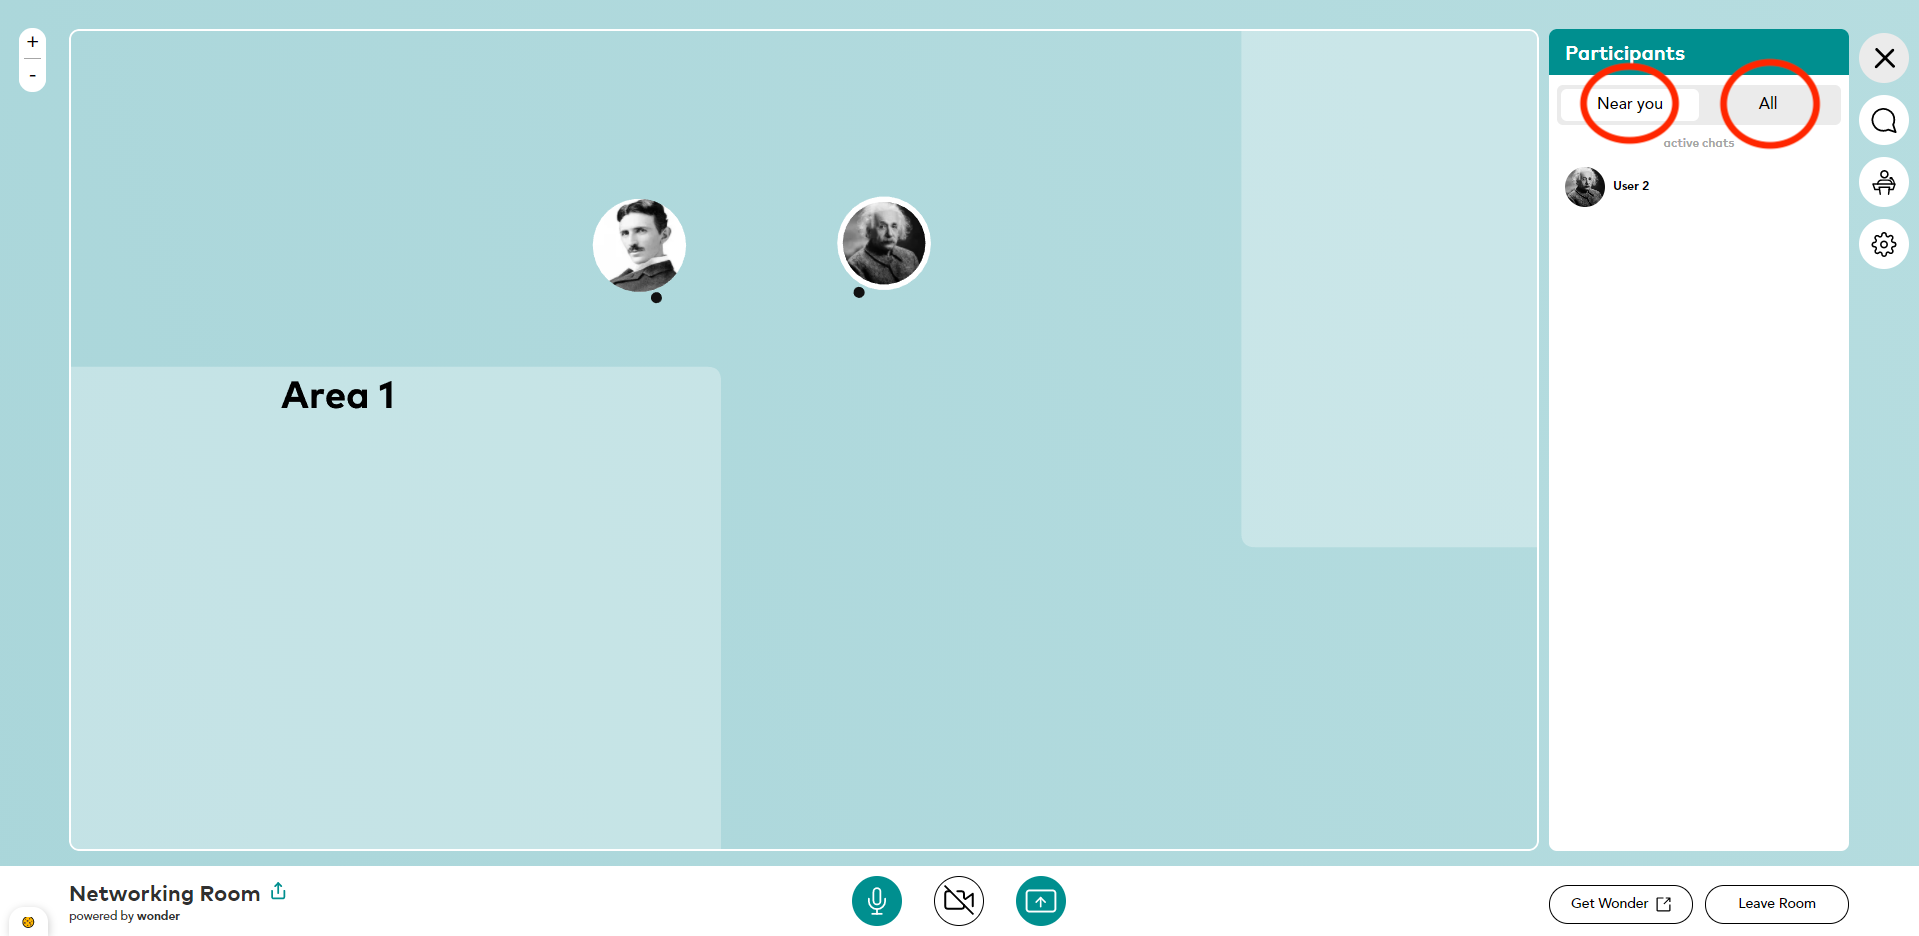
Click on the “Participant” button in the top right corner.
Step 26
The “All” button displays the list of all participants and the “Near you” button displays the list of participants near you.
Manage your profile
Step 27
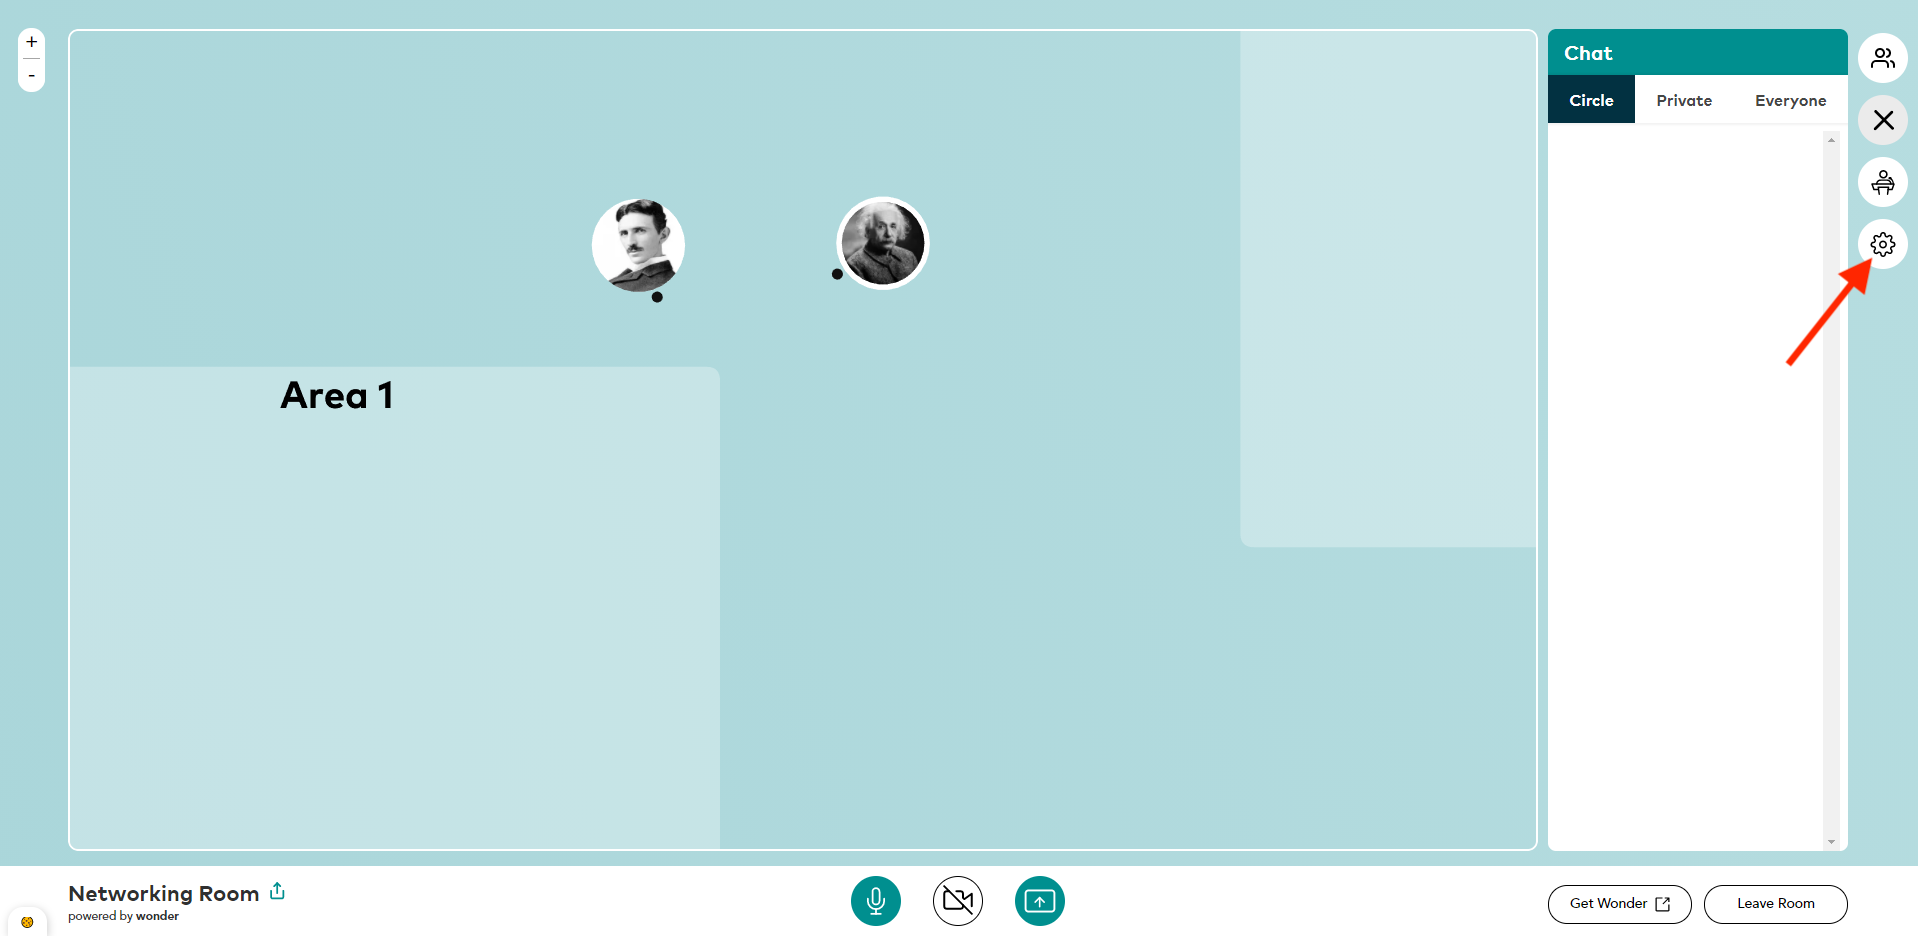
Click the “Settings” button on the right menu.
Step 28
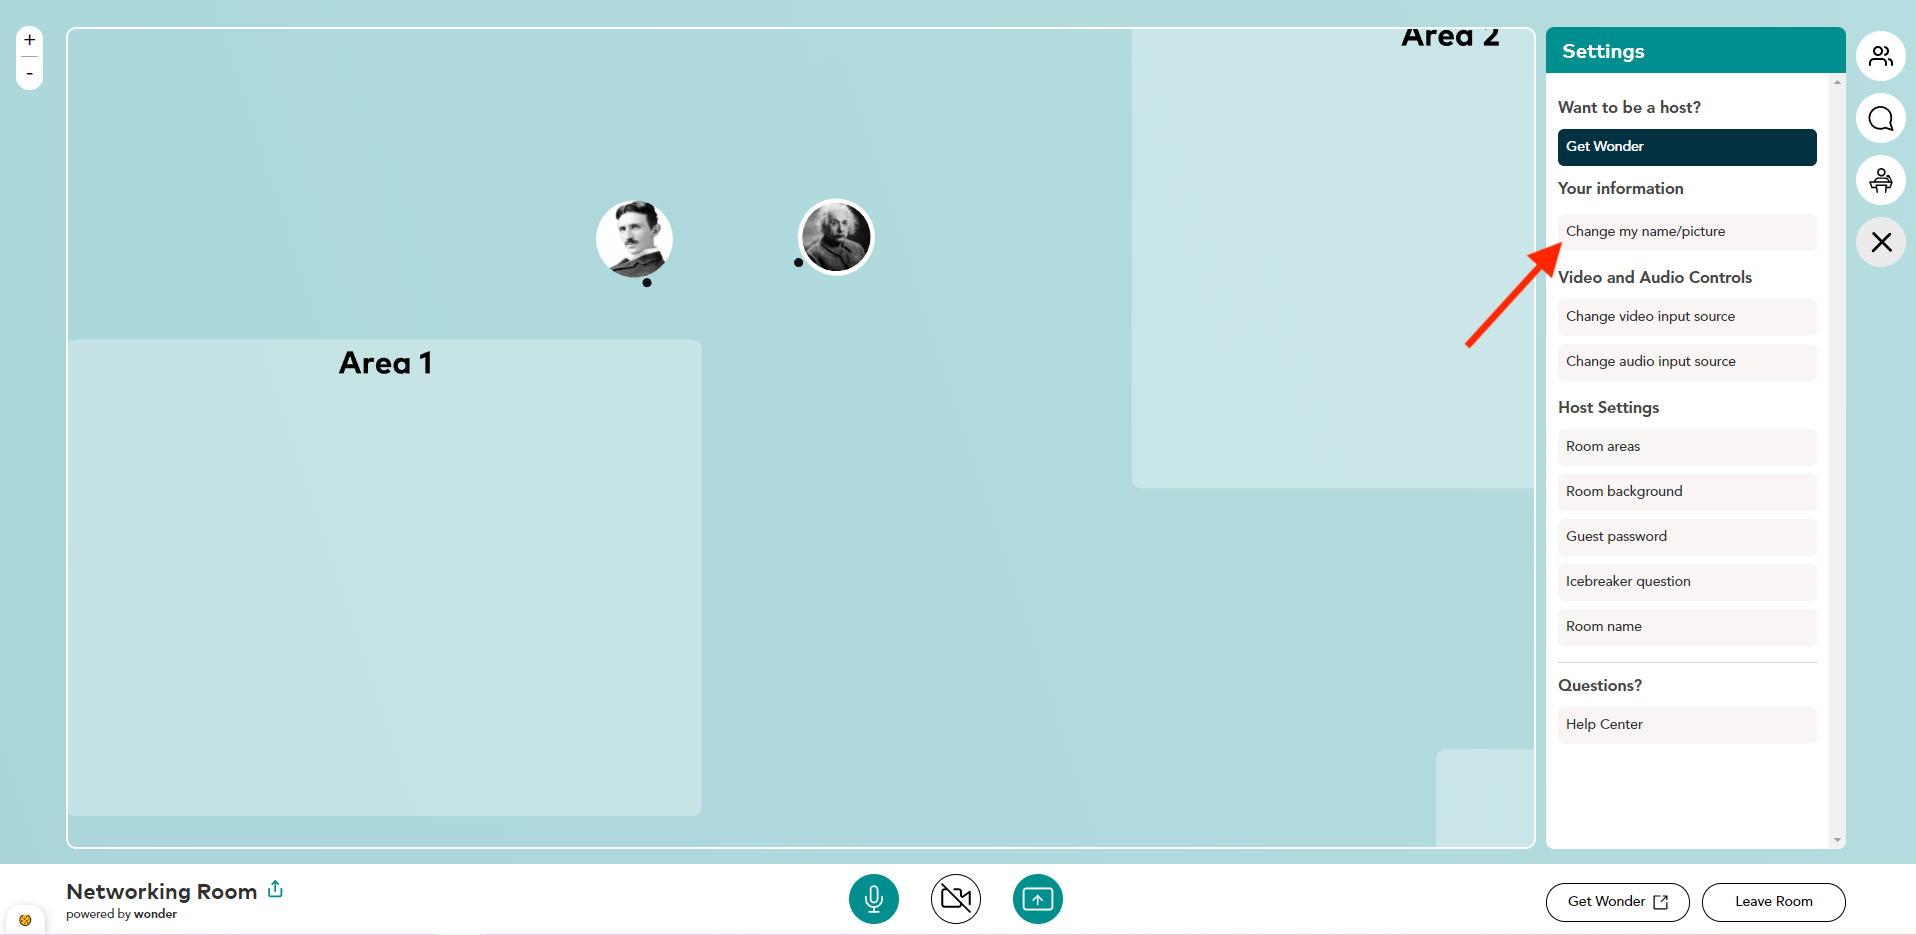
Then select “Change my name/picture” to change your name and profile picture.
Step 29
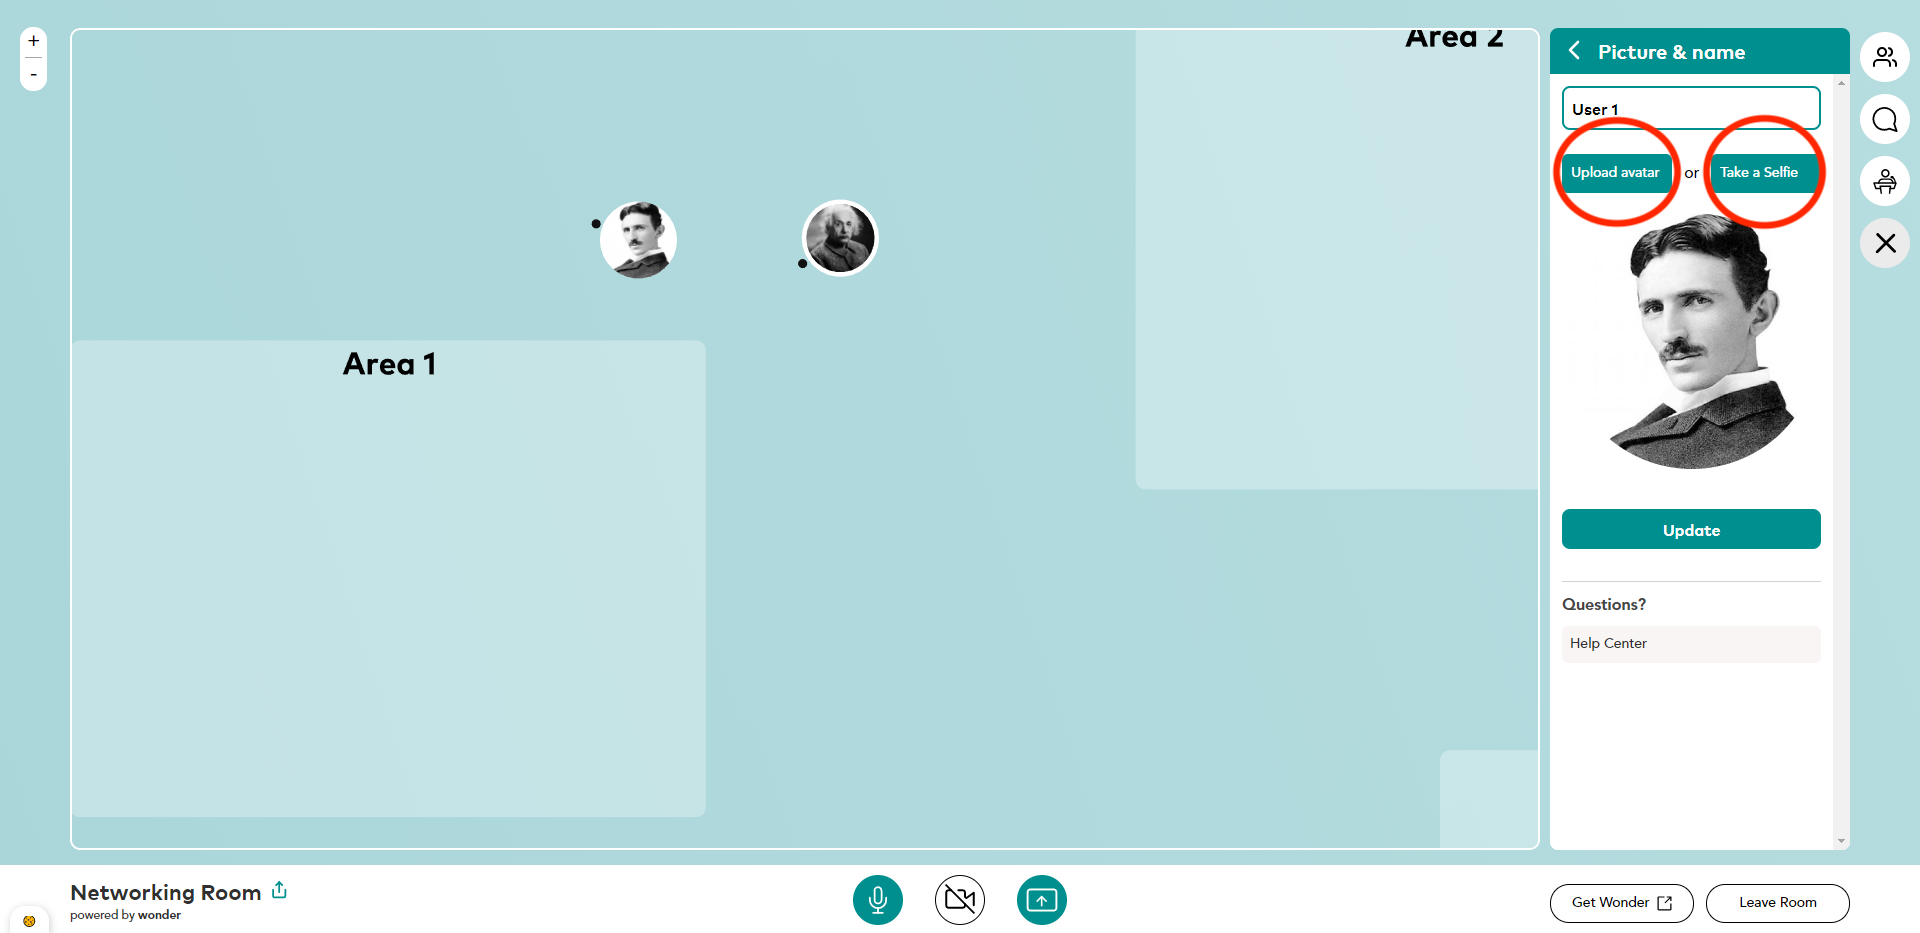
Select the “Upload avatar” button to upload a picture or select the “Take a selfie” button to take a picture and then click the “Update” button.
Step 30
If you wish, you can change your name in the box at the top right and then click on ” Update ” button.

Leave this platform
Step 31
If you wish to leave the session, click the “Leave room” button or close your window.
